RC FPV tank rover

DESCRIPTION
DETAILS
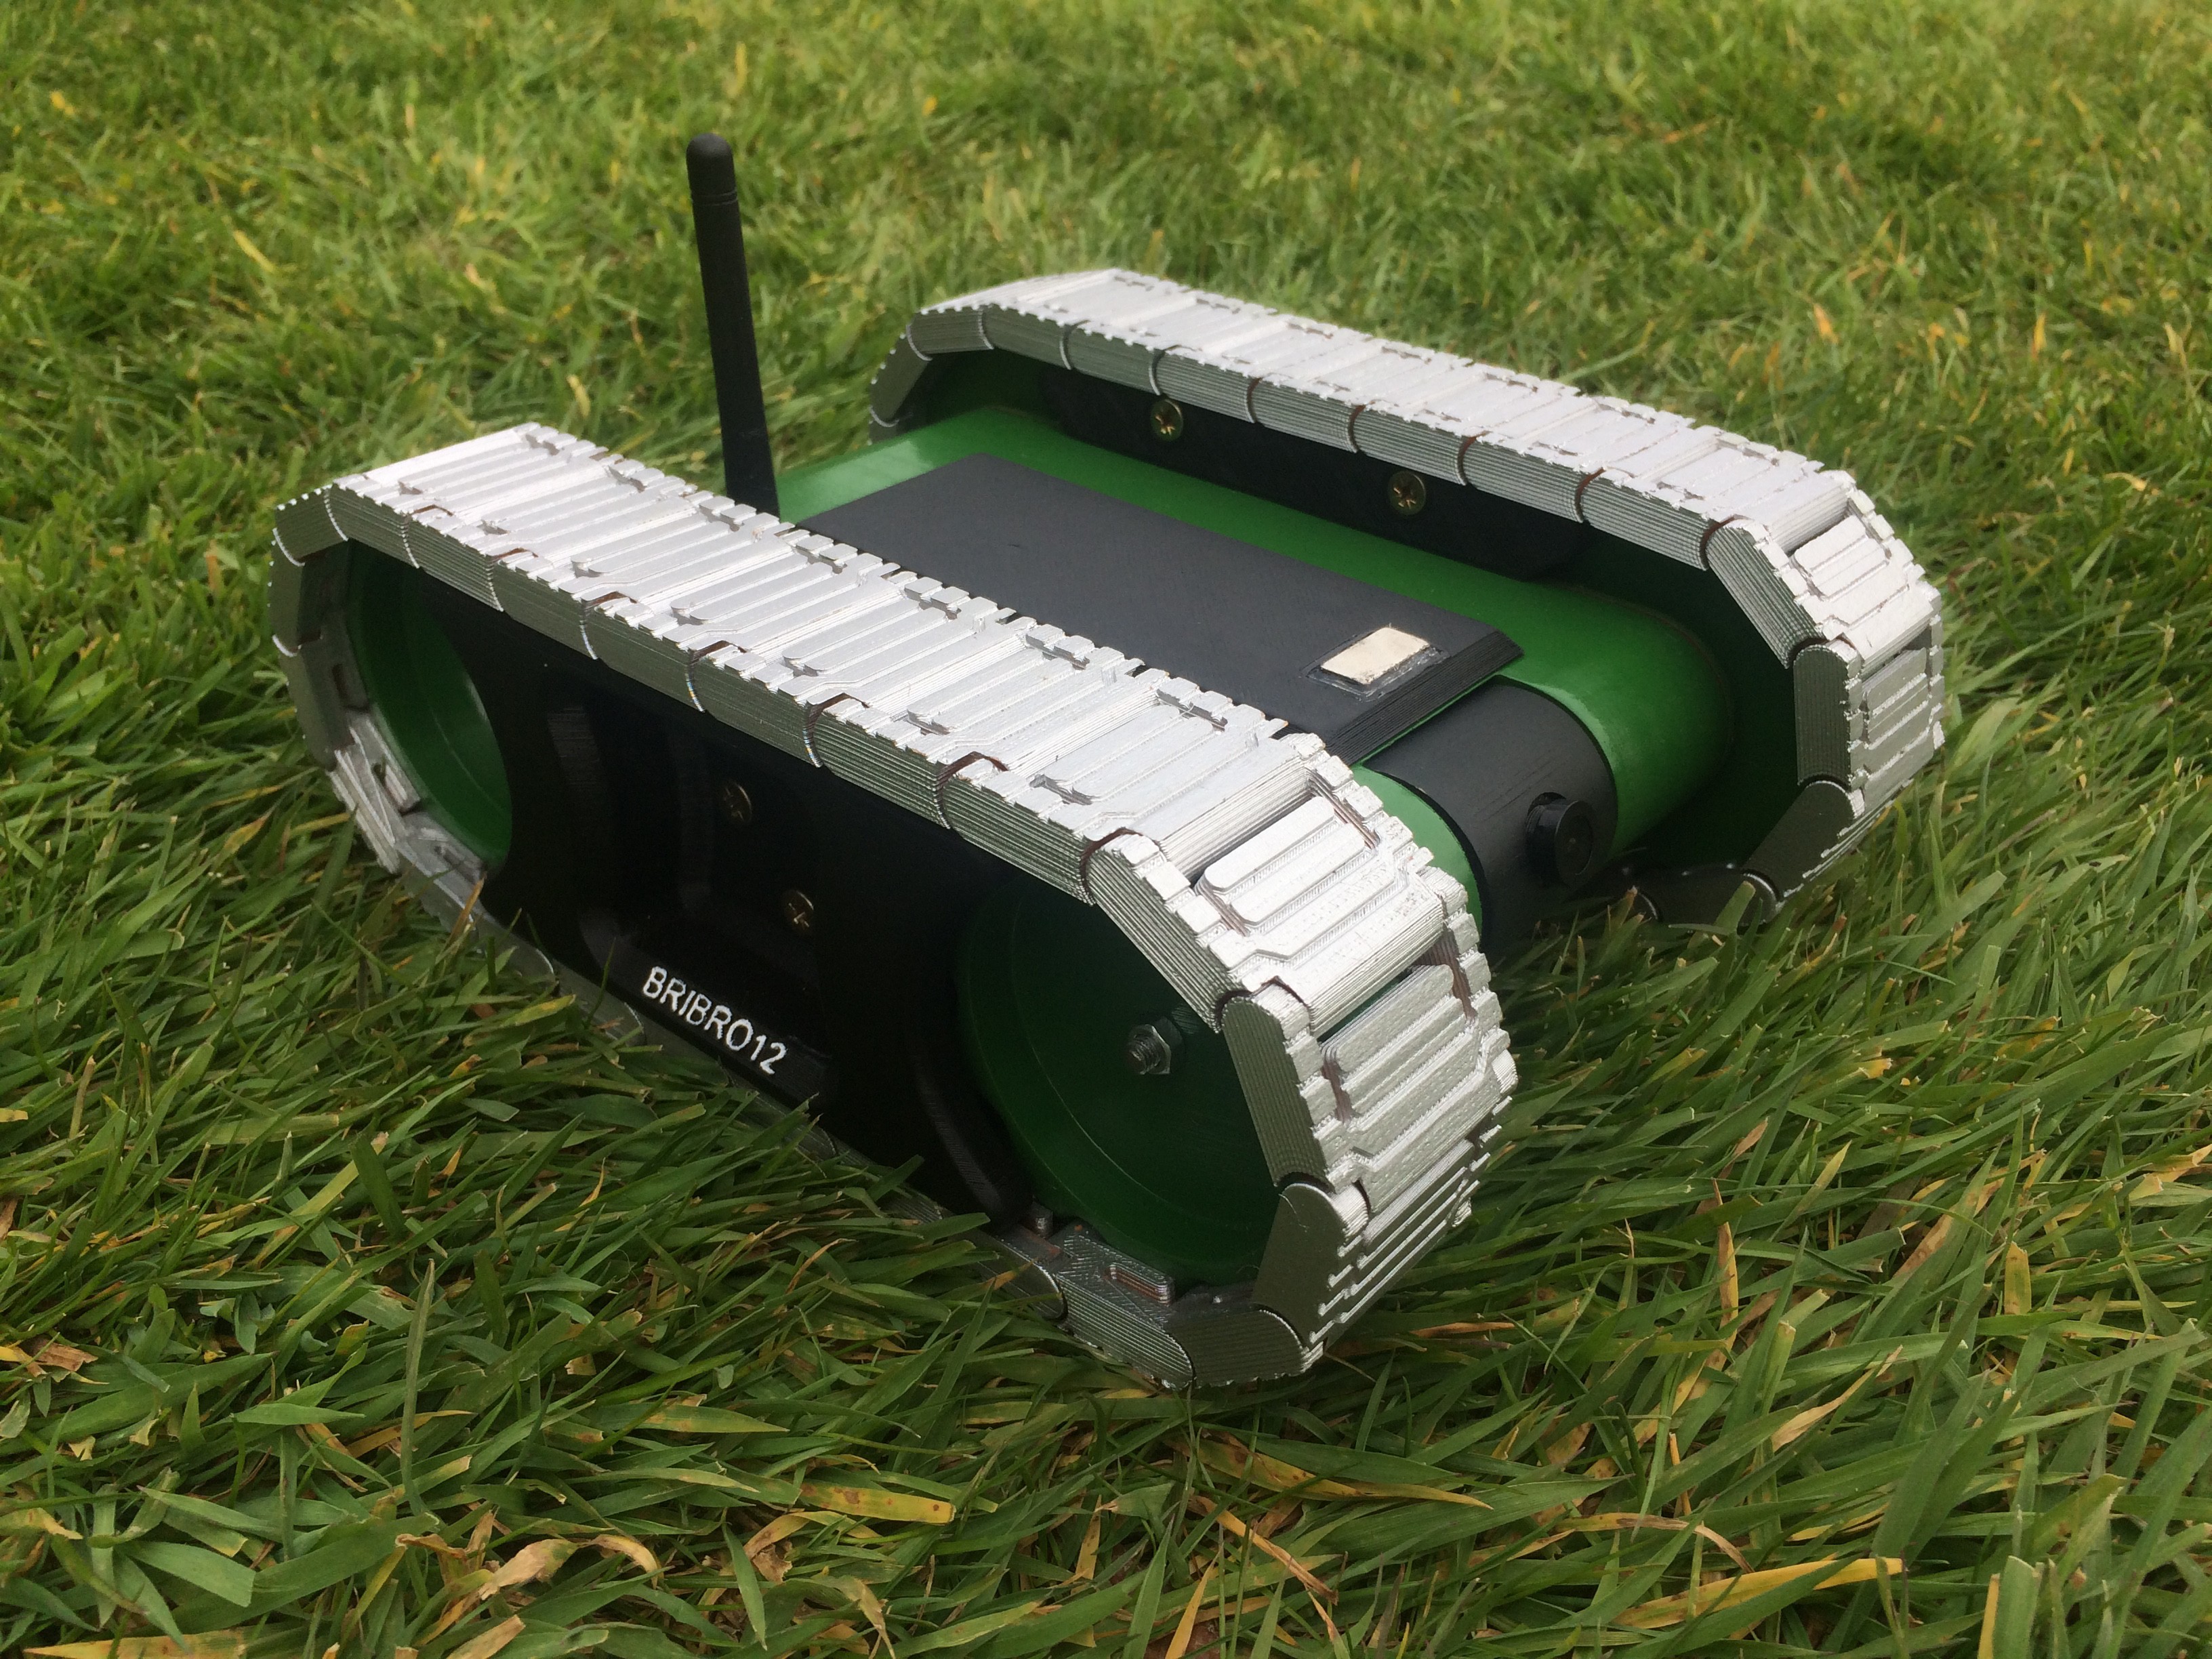
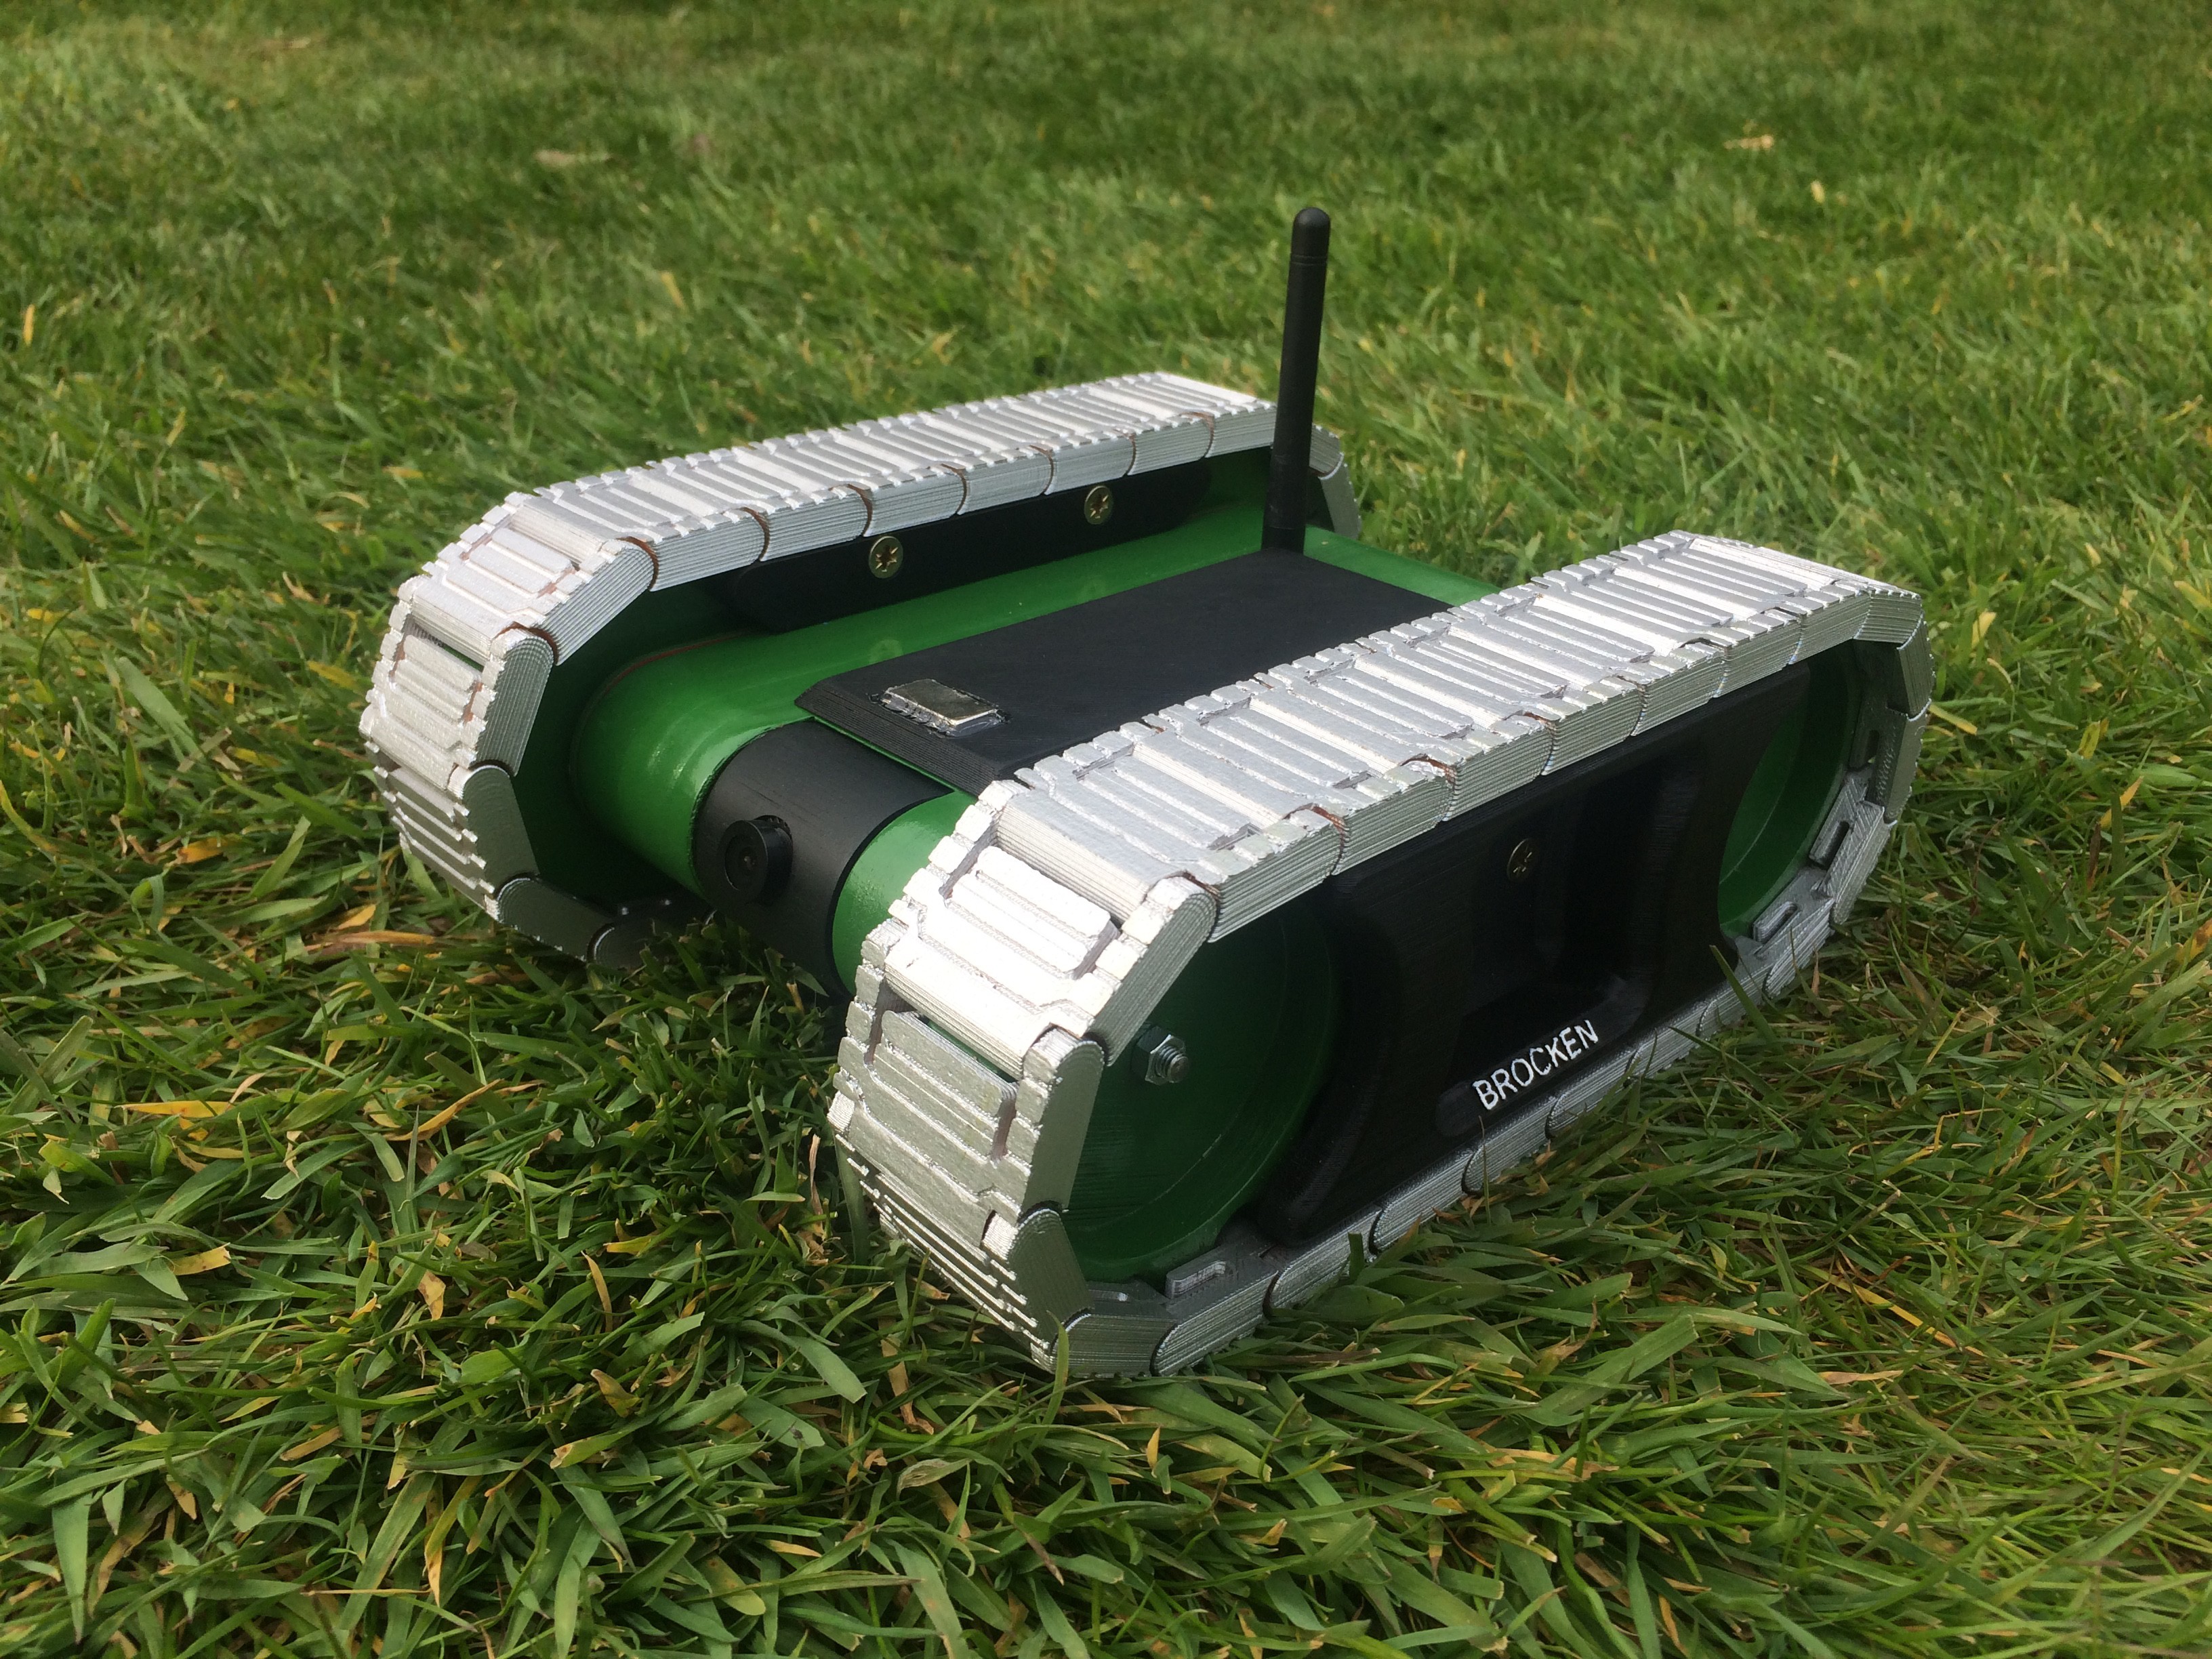
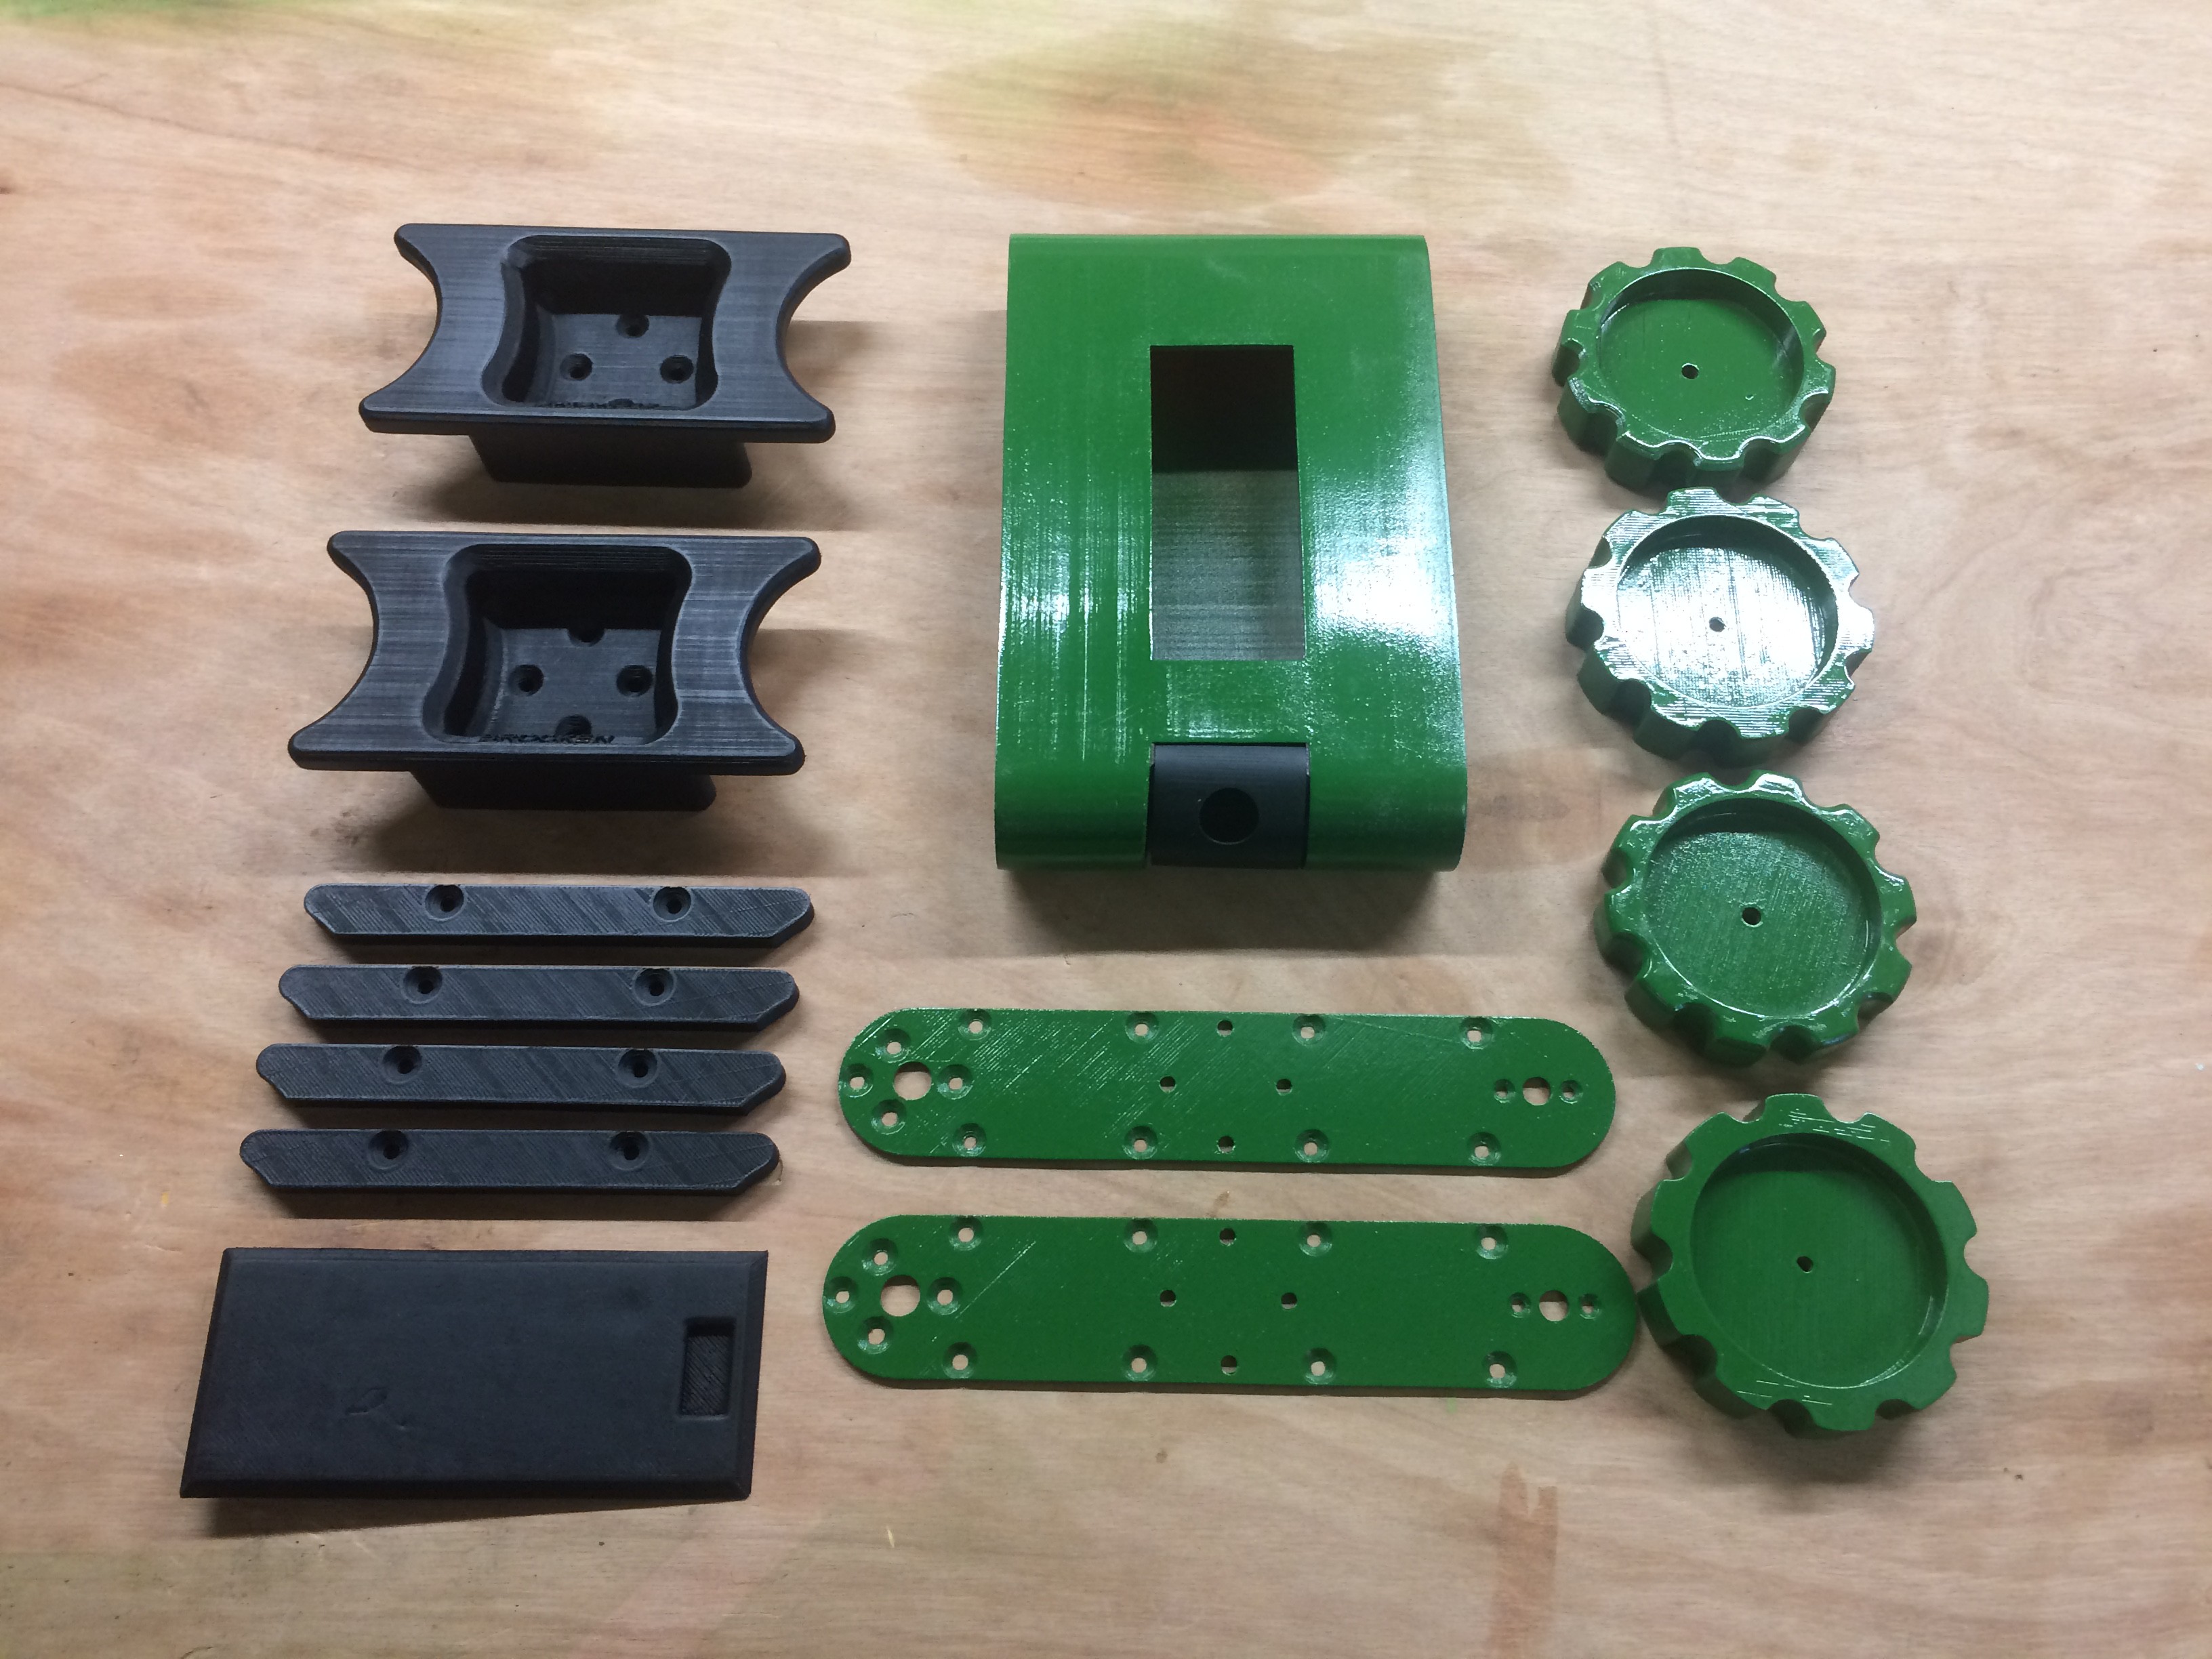
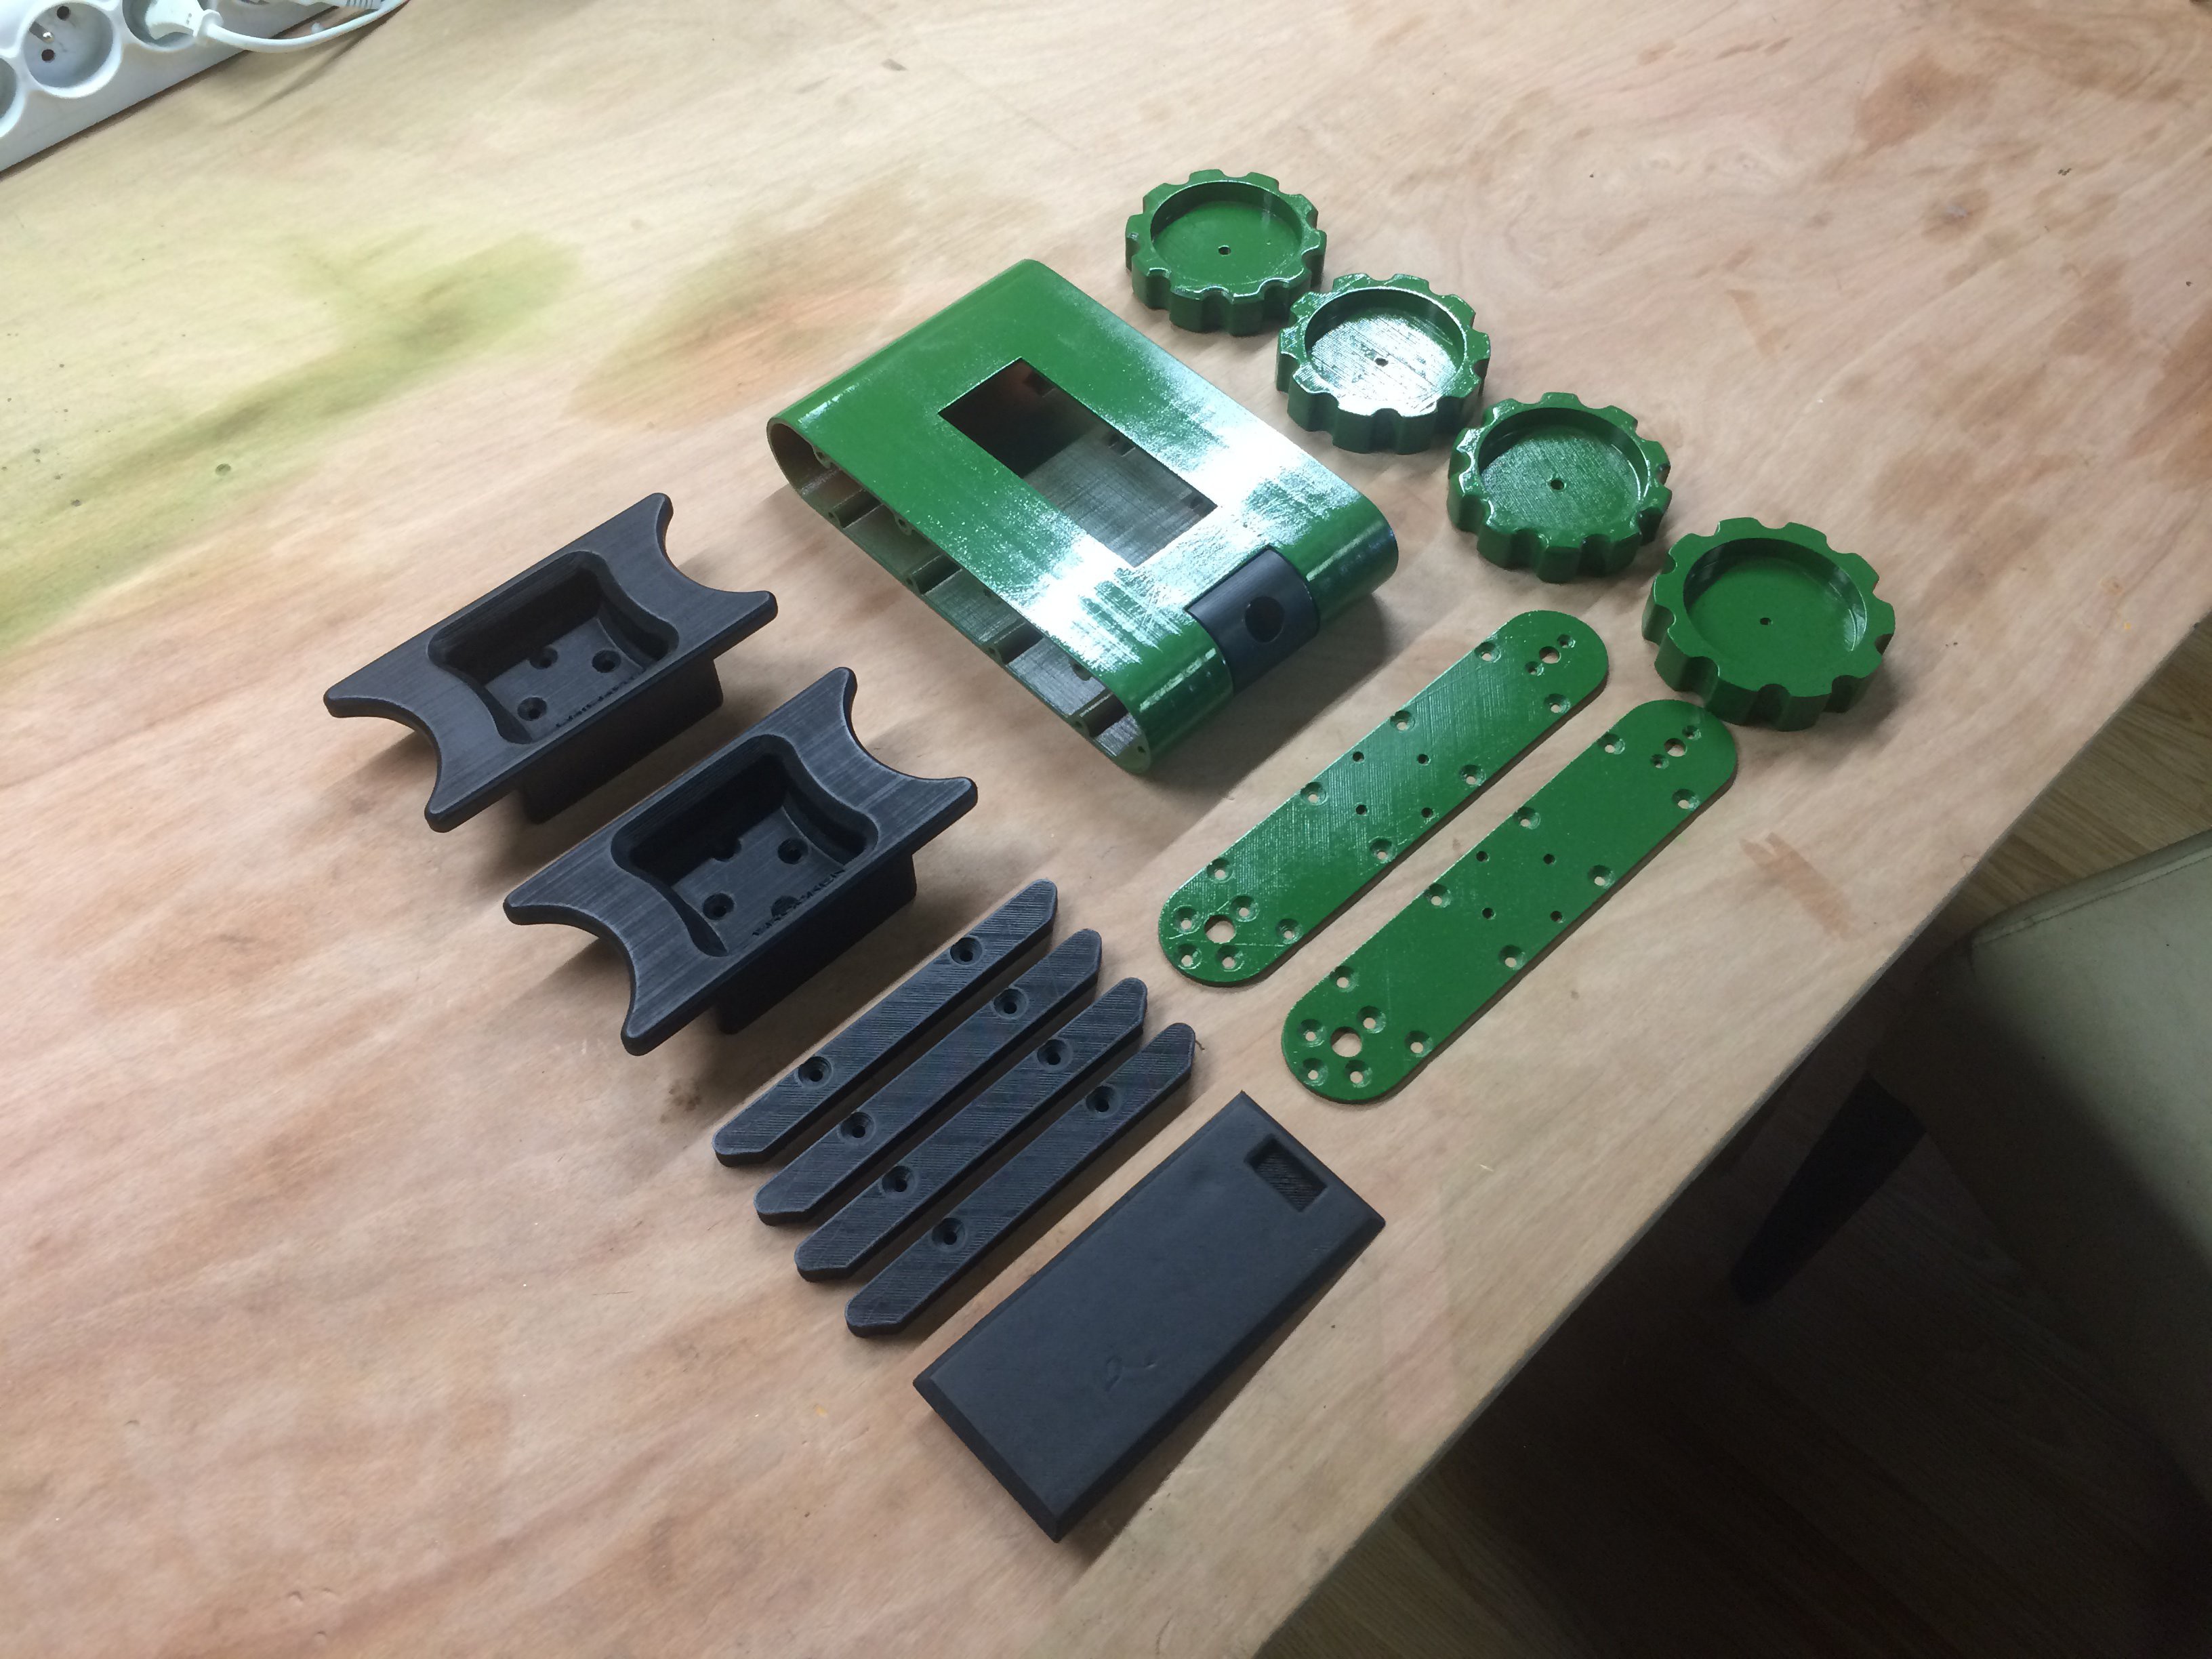
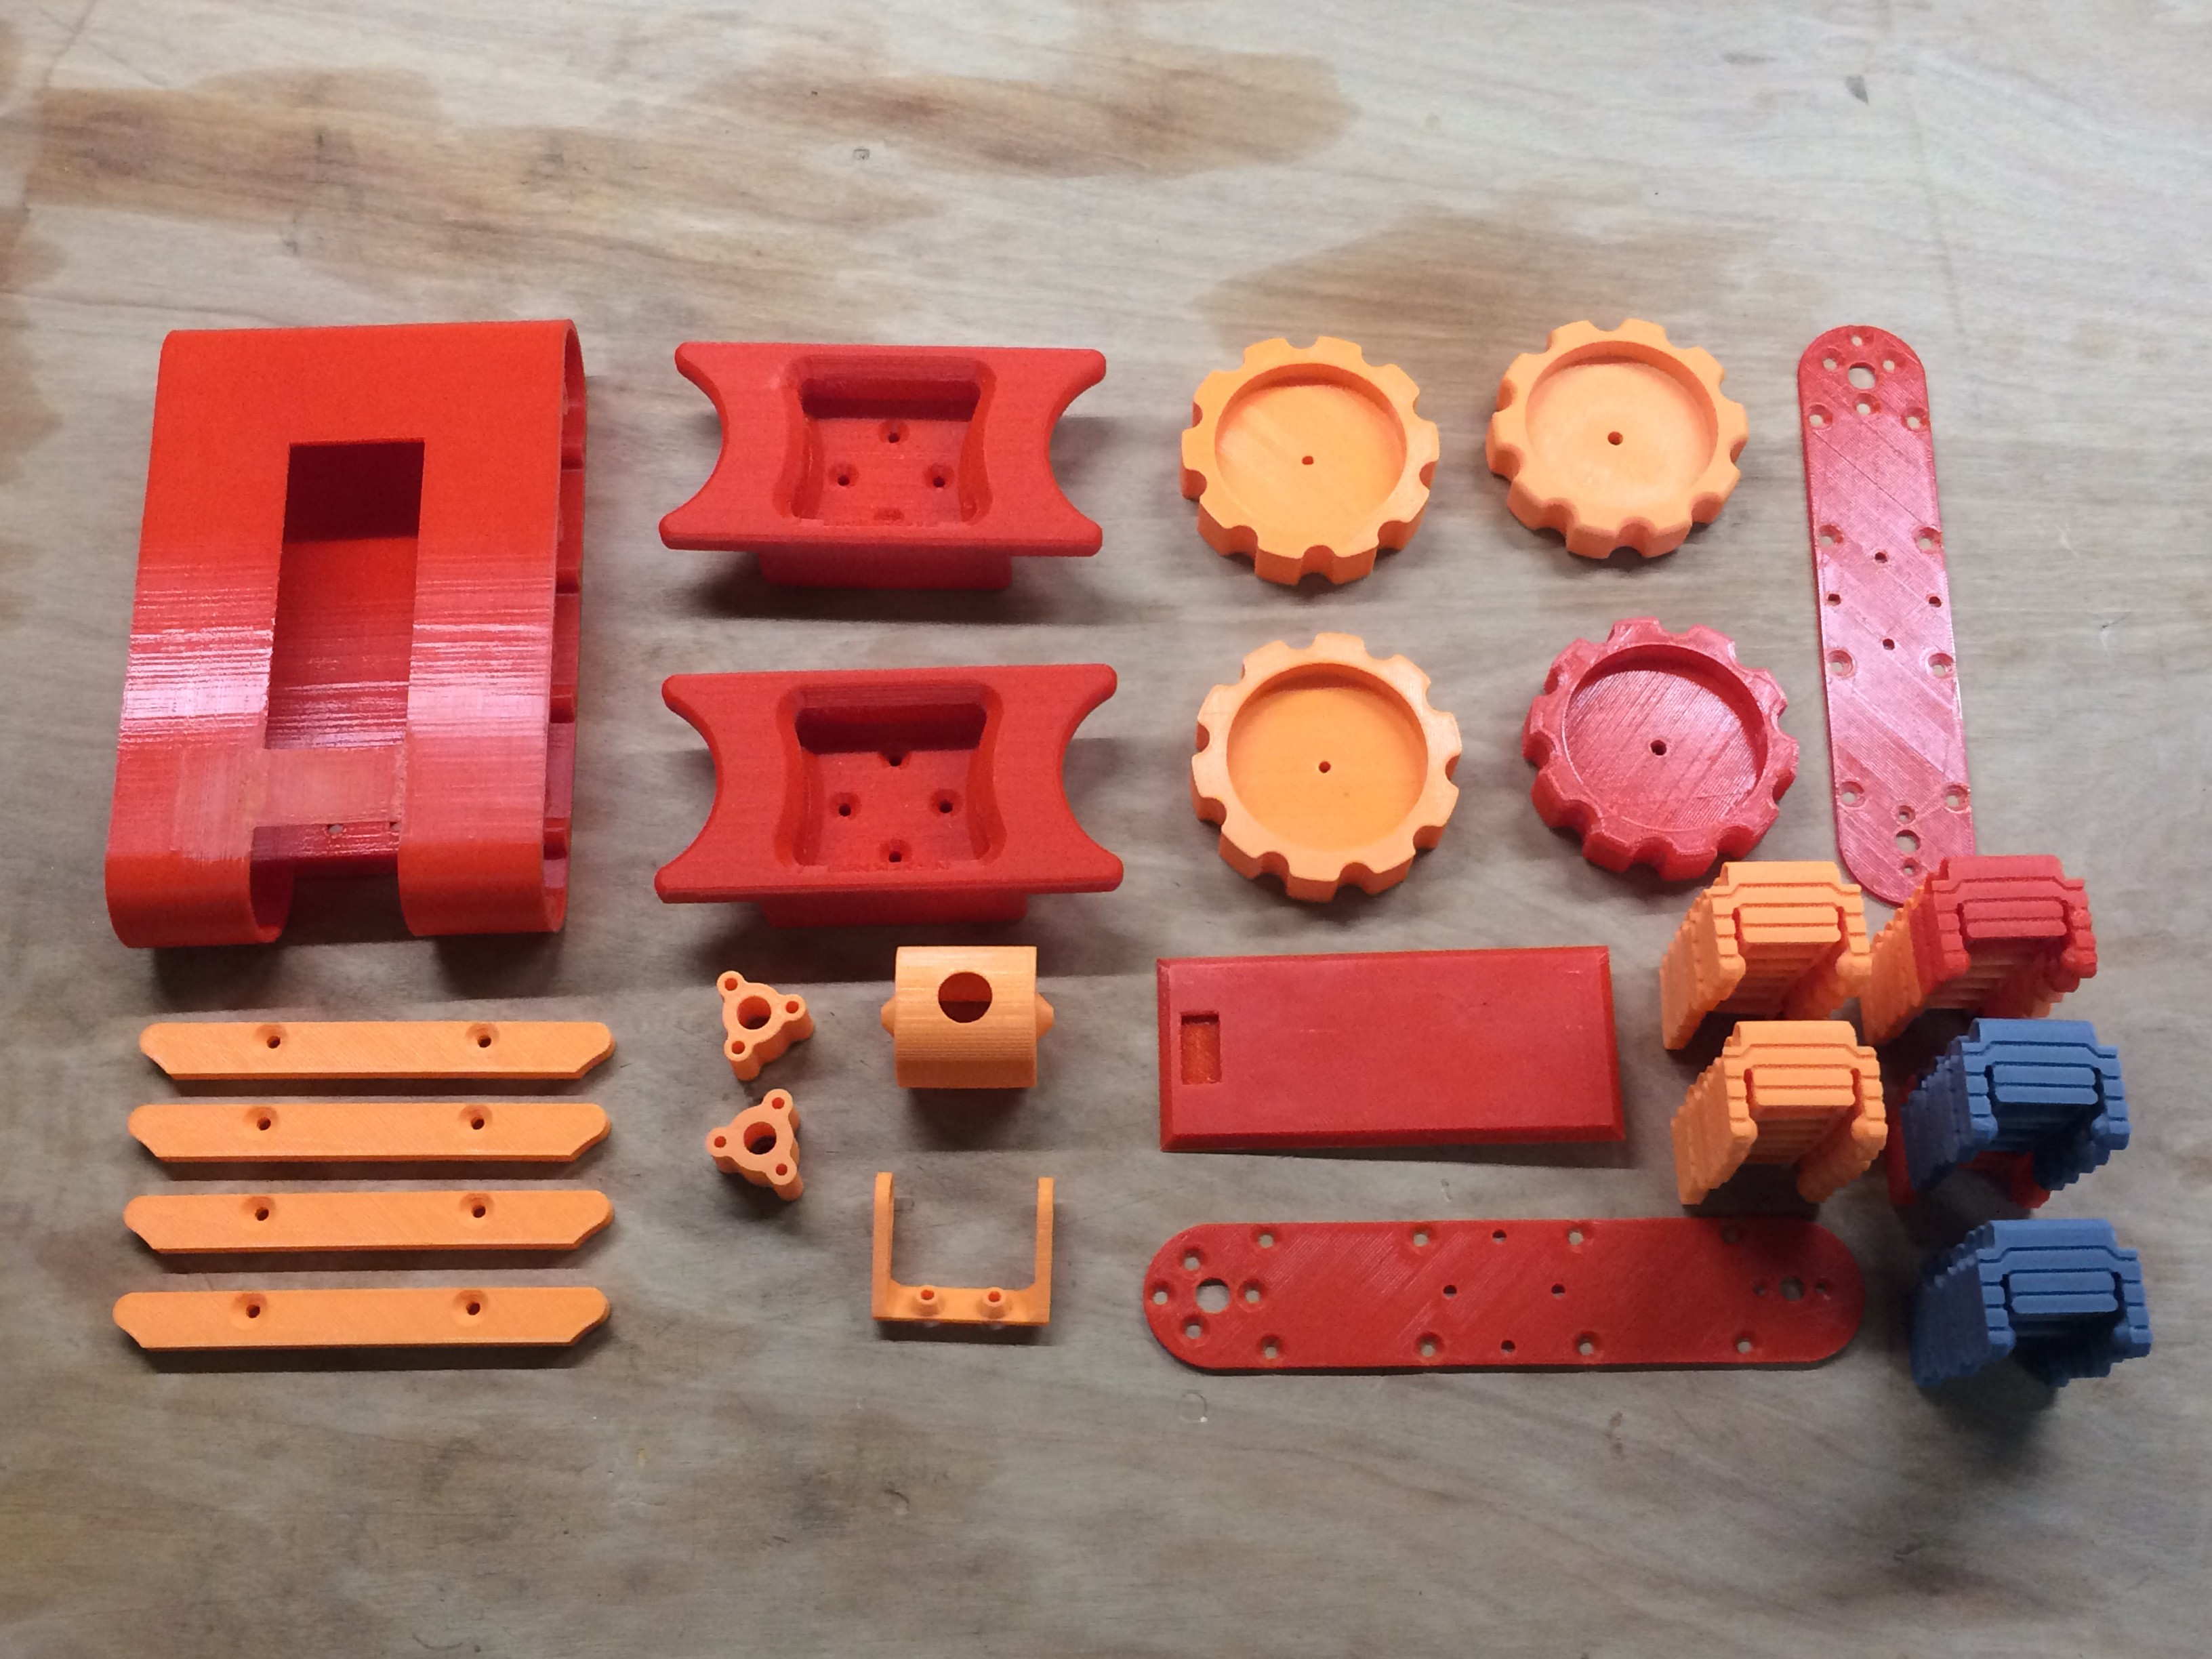
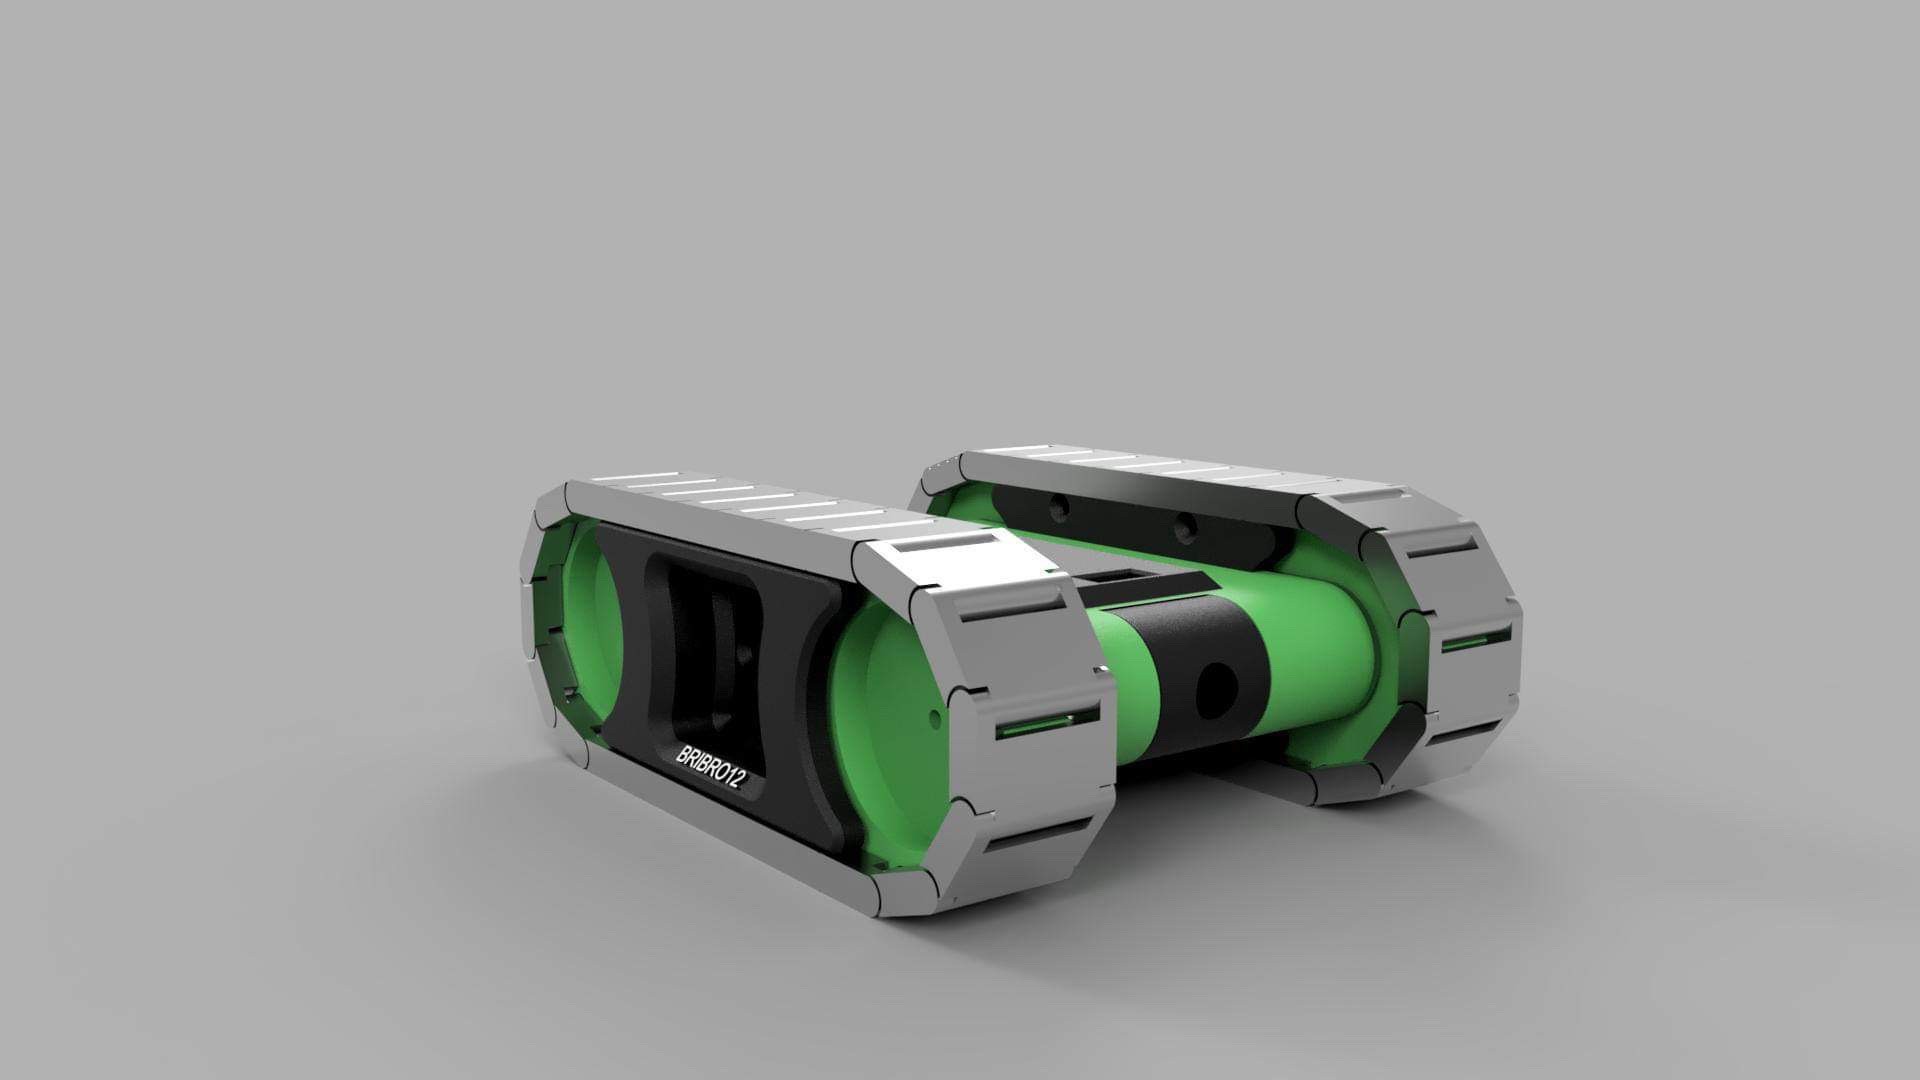
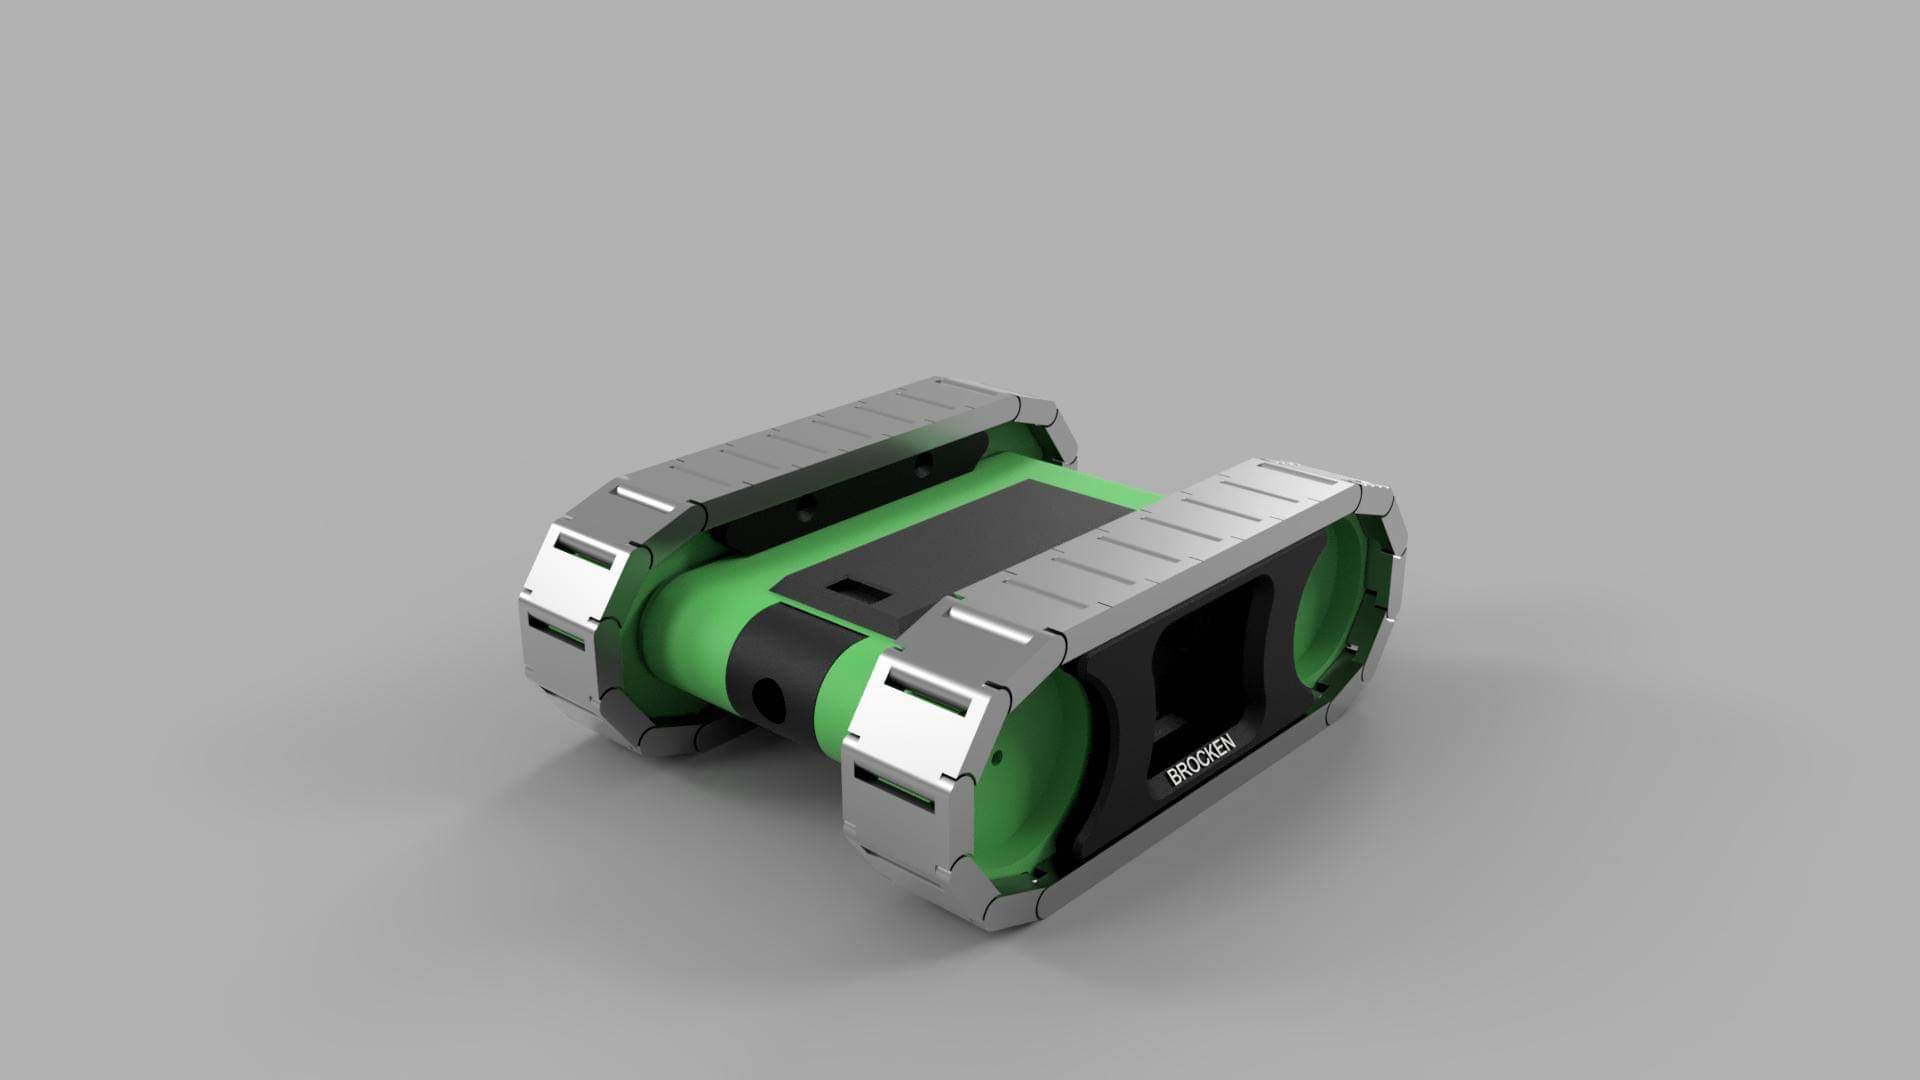
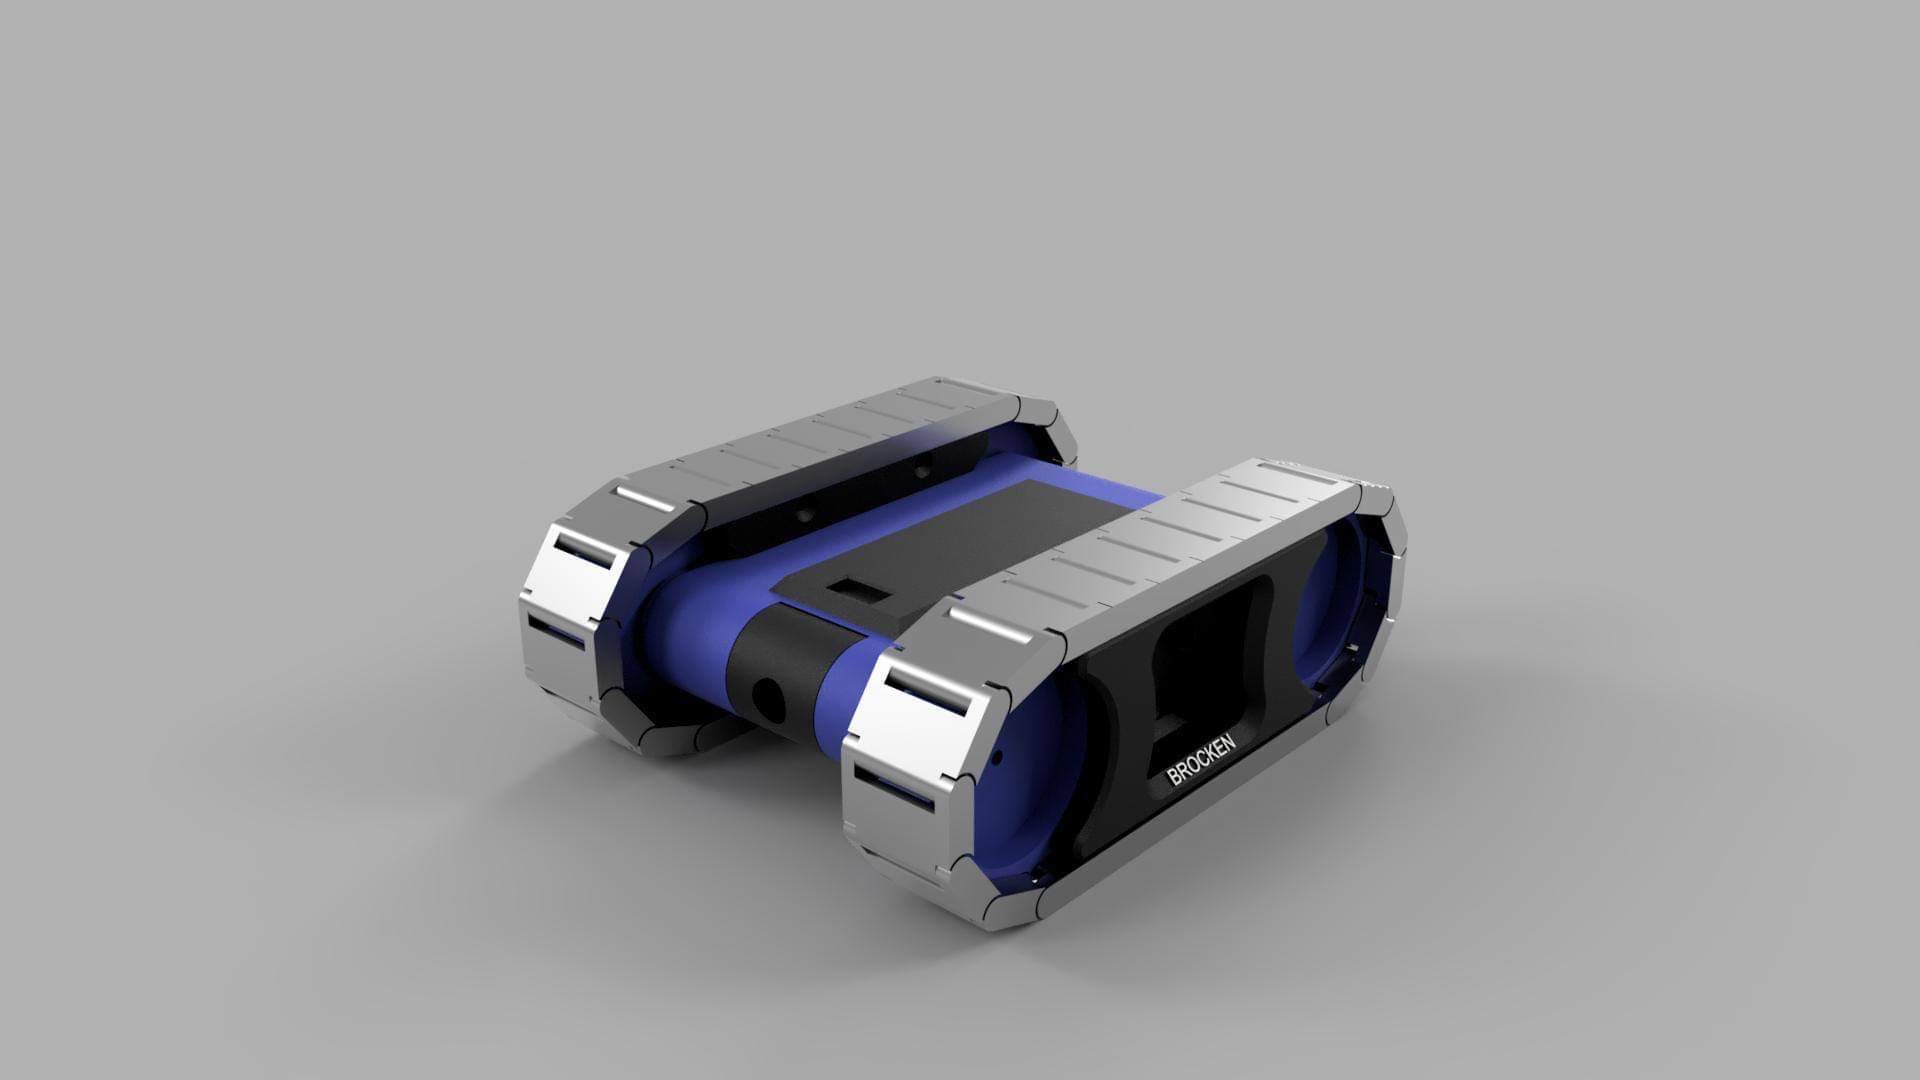
I designed the tank in a way that it can be almost completely 3D-printed. It's of course inevitable to truly completely 3D print the tank so there are small additional parts needed like bearings, shafts, screws, bolts and nuts. The tracks however are completely 3D-printed and don't need little shafts between every link. They are designed to snap together and stay together. It's very hard to take them apart after they snapped together, which is of course the intention.
I initially used 2 12V 1000 RPM motors but they turned out to be to weak so I ordered some new motors which were the same size but instead of 1000 RPM they are now 100 RPM. If I wanted to put bigger motors in it, I had to completely redesign the tank which would take up to much time as I already 3D-printed all the parts.
The 2 motors are currently being driven by a L298N motor driver which is controlled by an Arduino Nano V3. The Arduino reads the data from 2 channels on the Spektrum receiver. I might replace the Arduino and motor driver by 2 car esc's but it's also possible I keep the Arduino so I can connect some sensors to it so I can make the tank perform tasks autonomously.
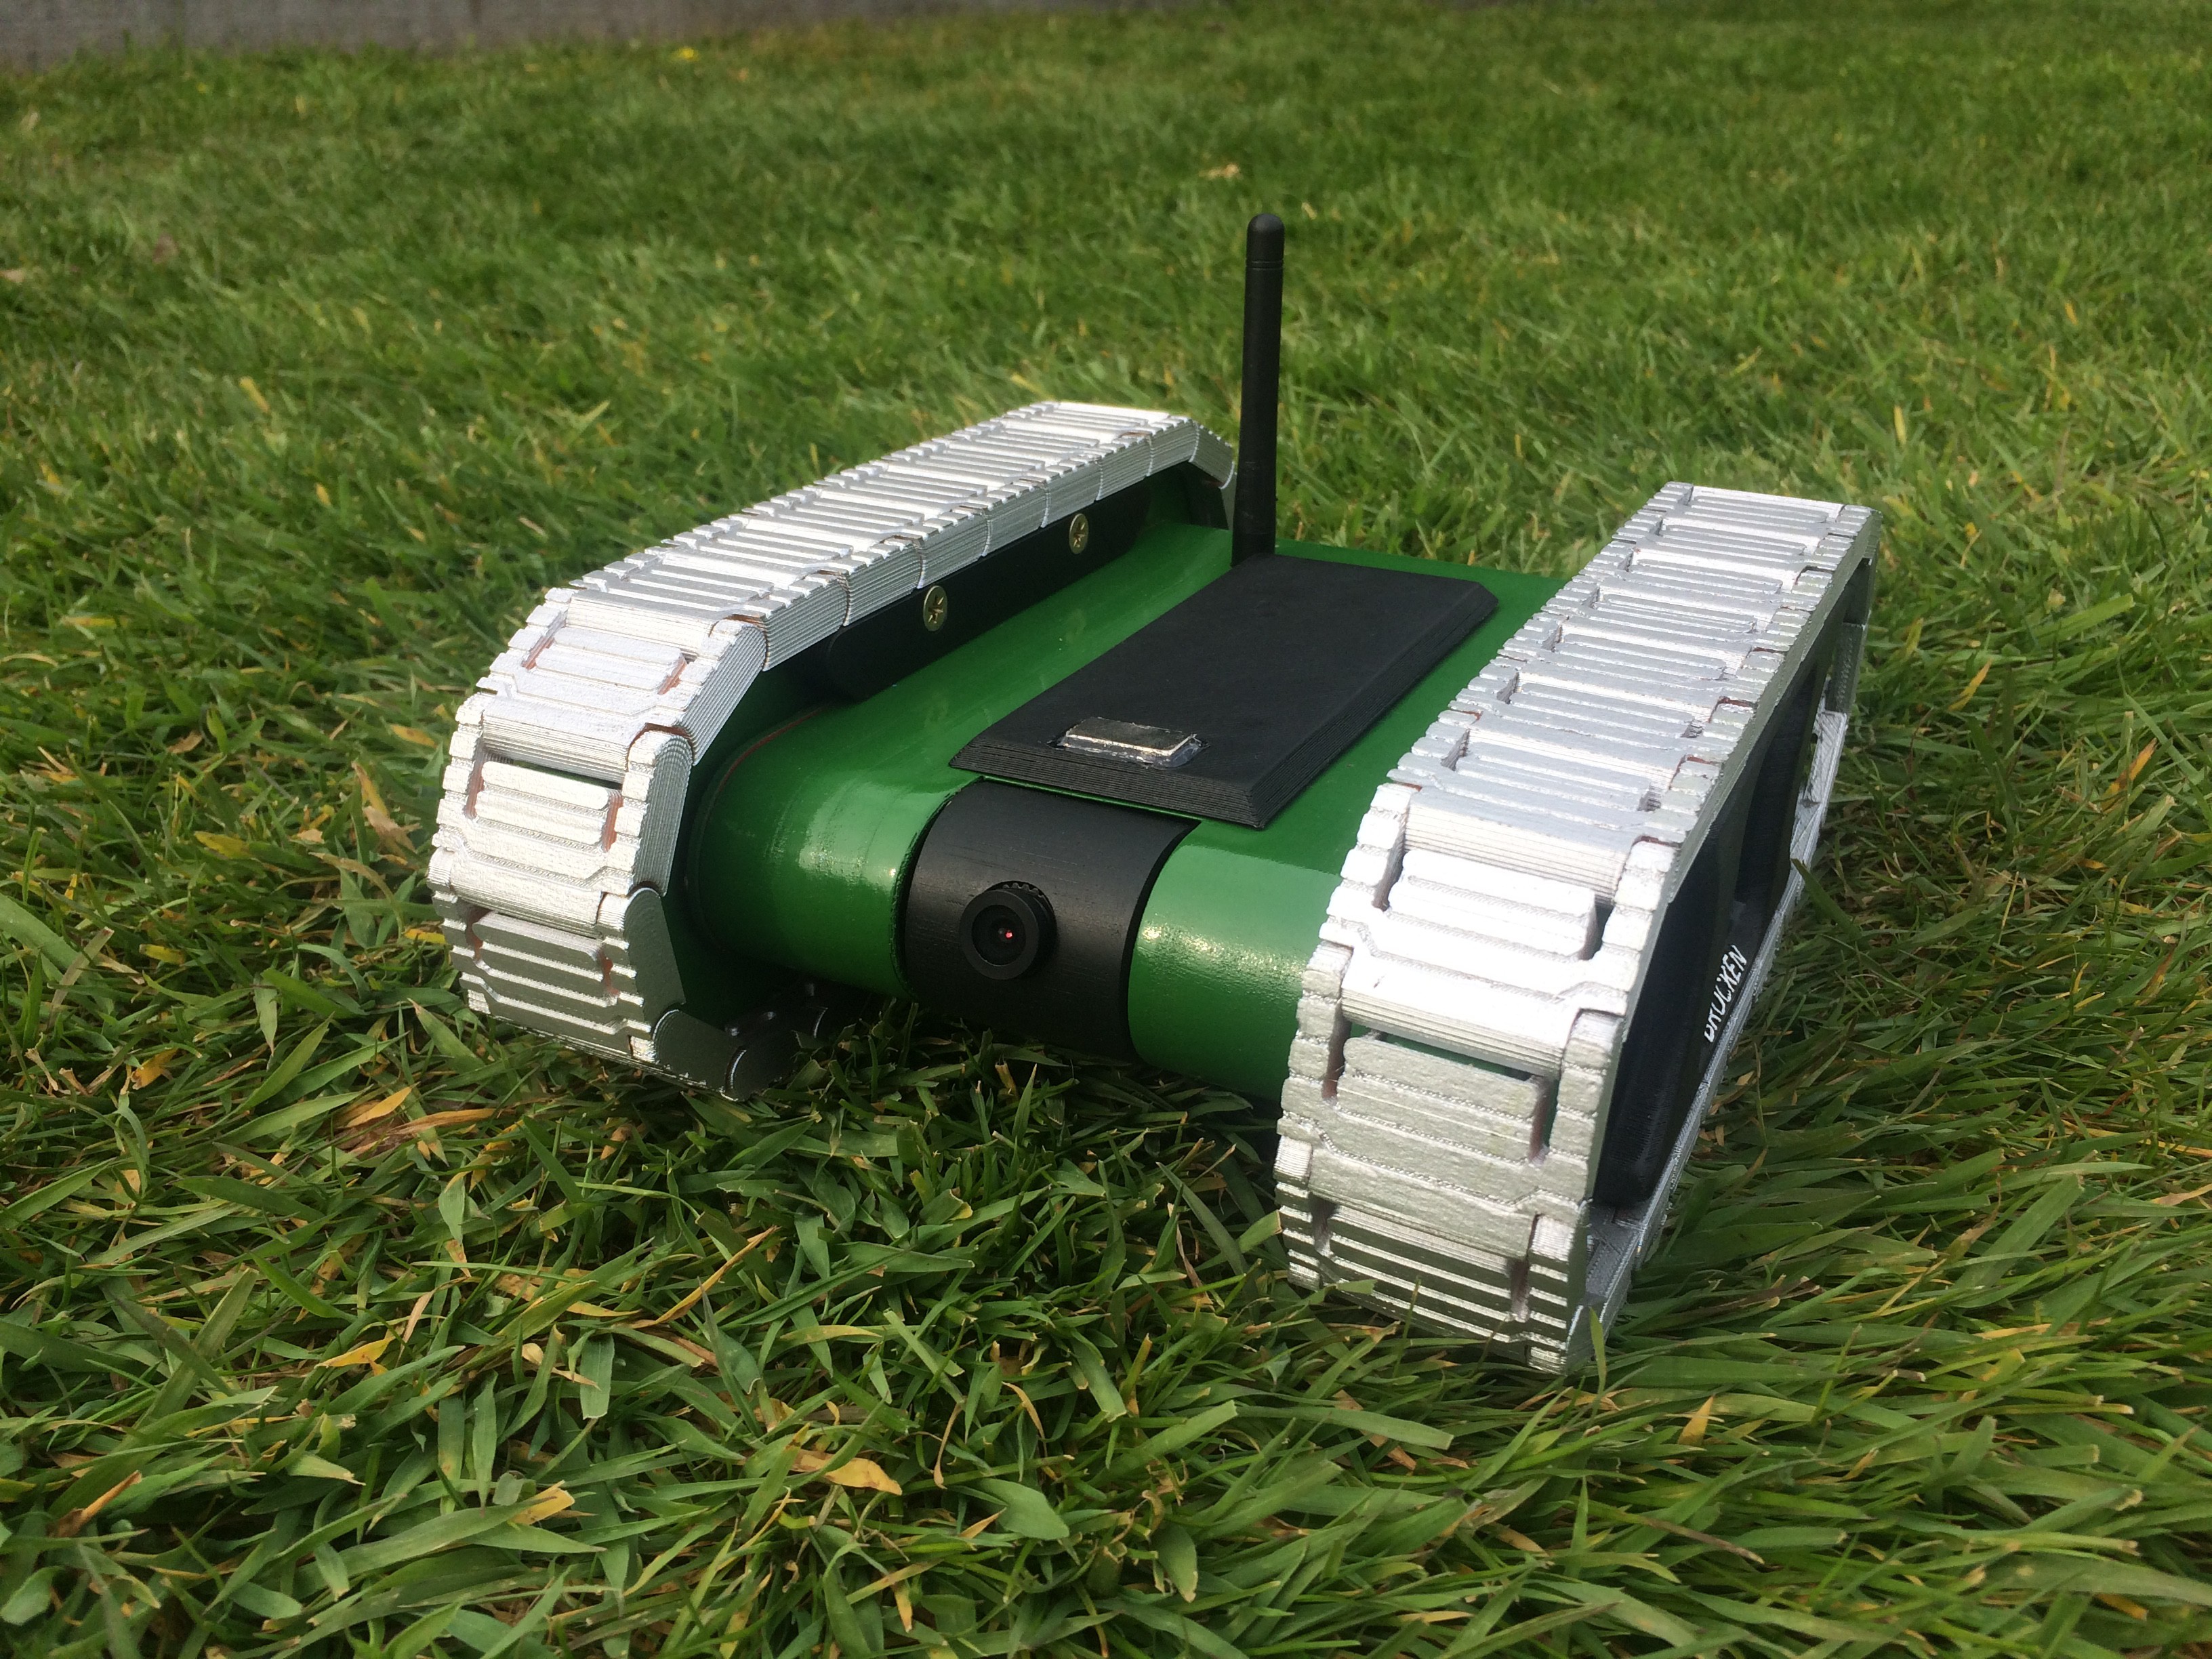
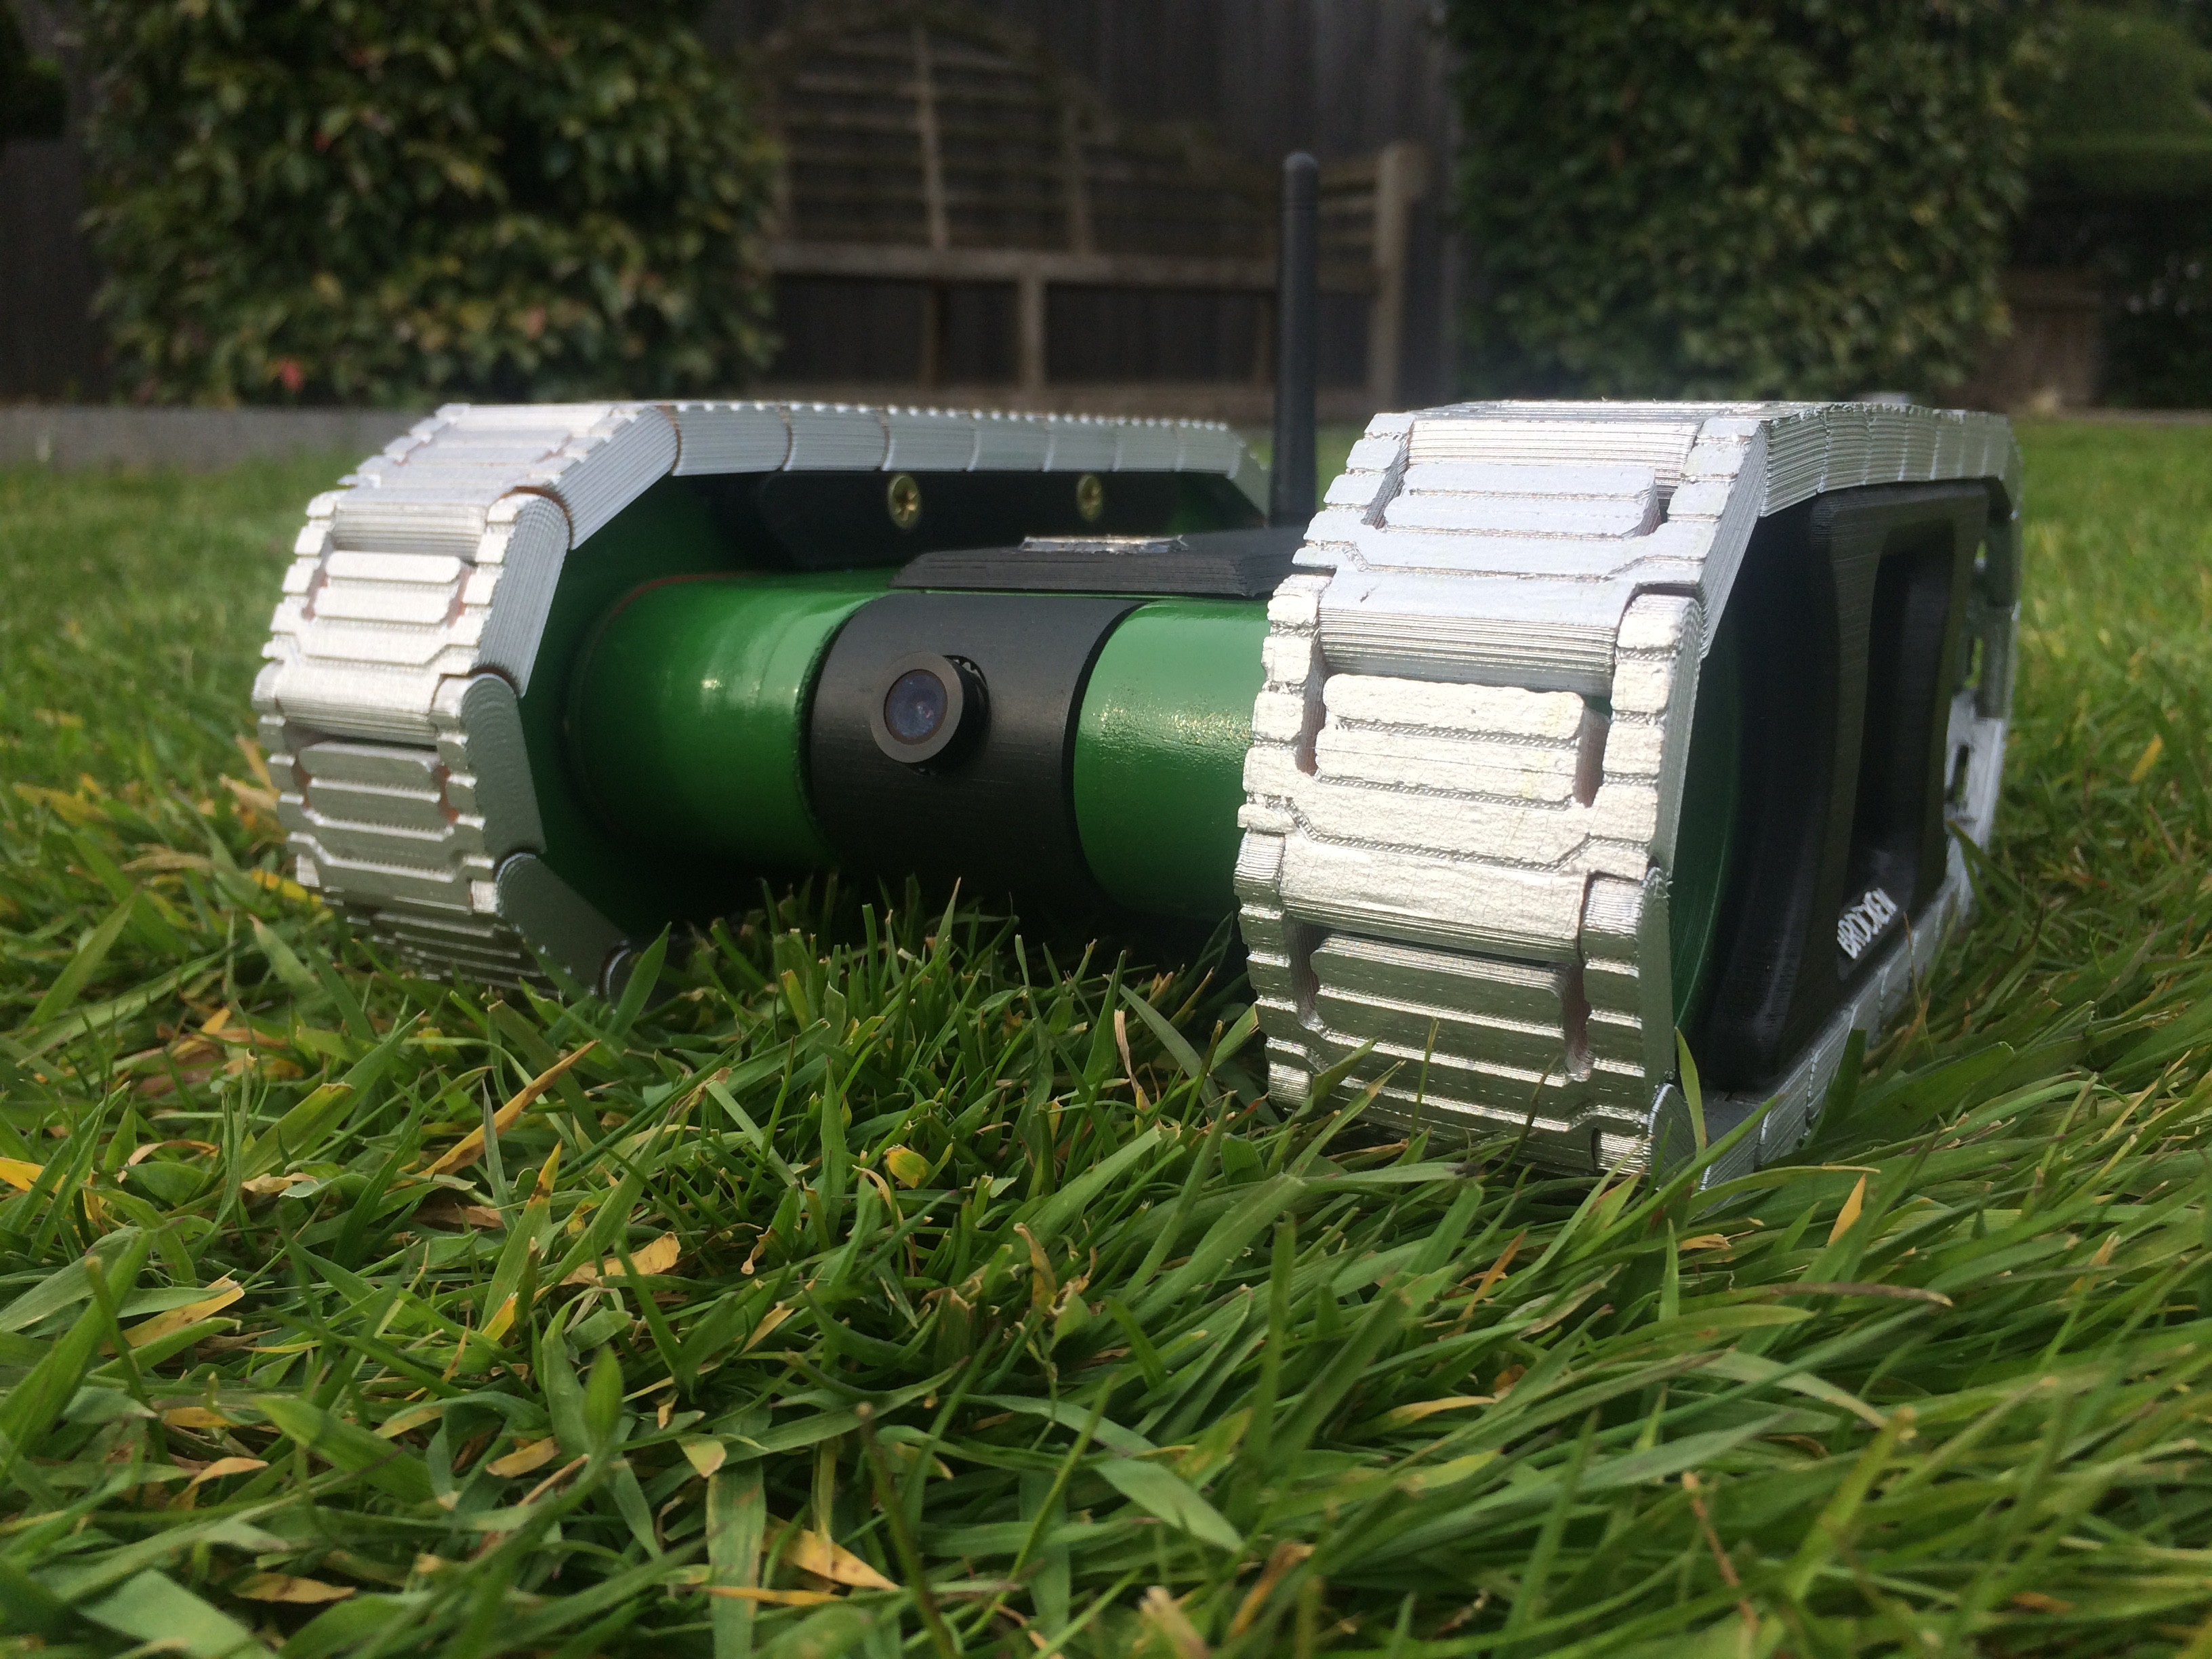
In front of the tank is a camera which is placed inside an "eye" so the driver can look up and down. The up and down movement of the "eye" is obtained by a standard 9g servo. The video feed gets transmitted through a 600mW 5.8gHz transmitter and gets send to some FPV goggles.
The hatch on top of the tank gets hold on by 2 neodymium magnets (1 in the body, 1 in the hatch).
A possible upgrade in the future for this tank would be a robotic arm which would be mounted on top of it.
The tank needs about 23 - 24 treads for one side depending on your print quality.
Video:
FILES
STL-files and the Fusion 360 source files can be downloaded here: https://bbprojects.technology/stl-fusion-360-source-files/rc-fpv-tank-rover-files
Arduino code can be downloaded here
COMPONENTS
PROJECT LOGS
-
The wiring diagram I used
07/05/2019 at 20:52 -
Assembly and build video is online
04/25/2019 at 16:12 -
The RC FPV tank is fully assembled and working
04/25/2019 at 16:08 -
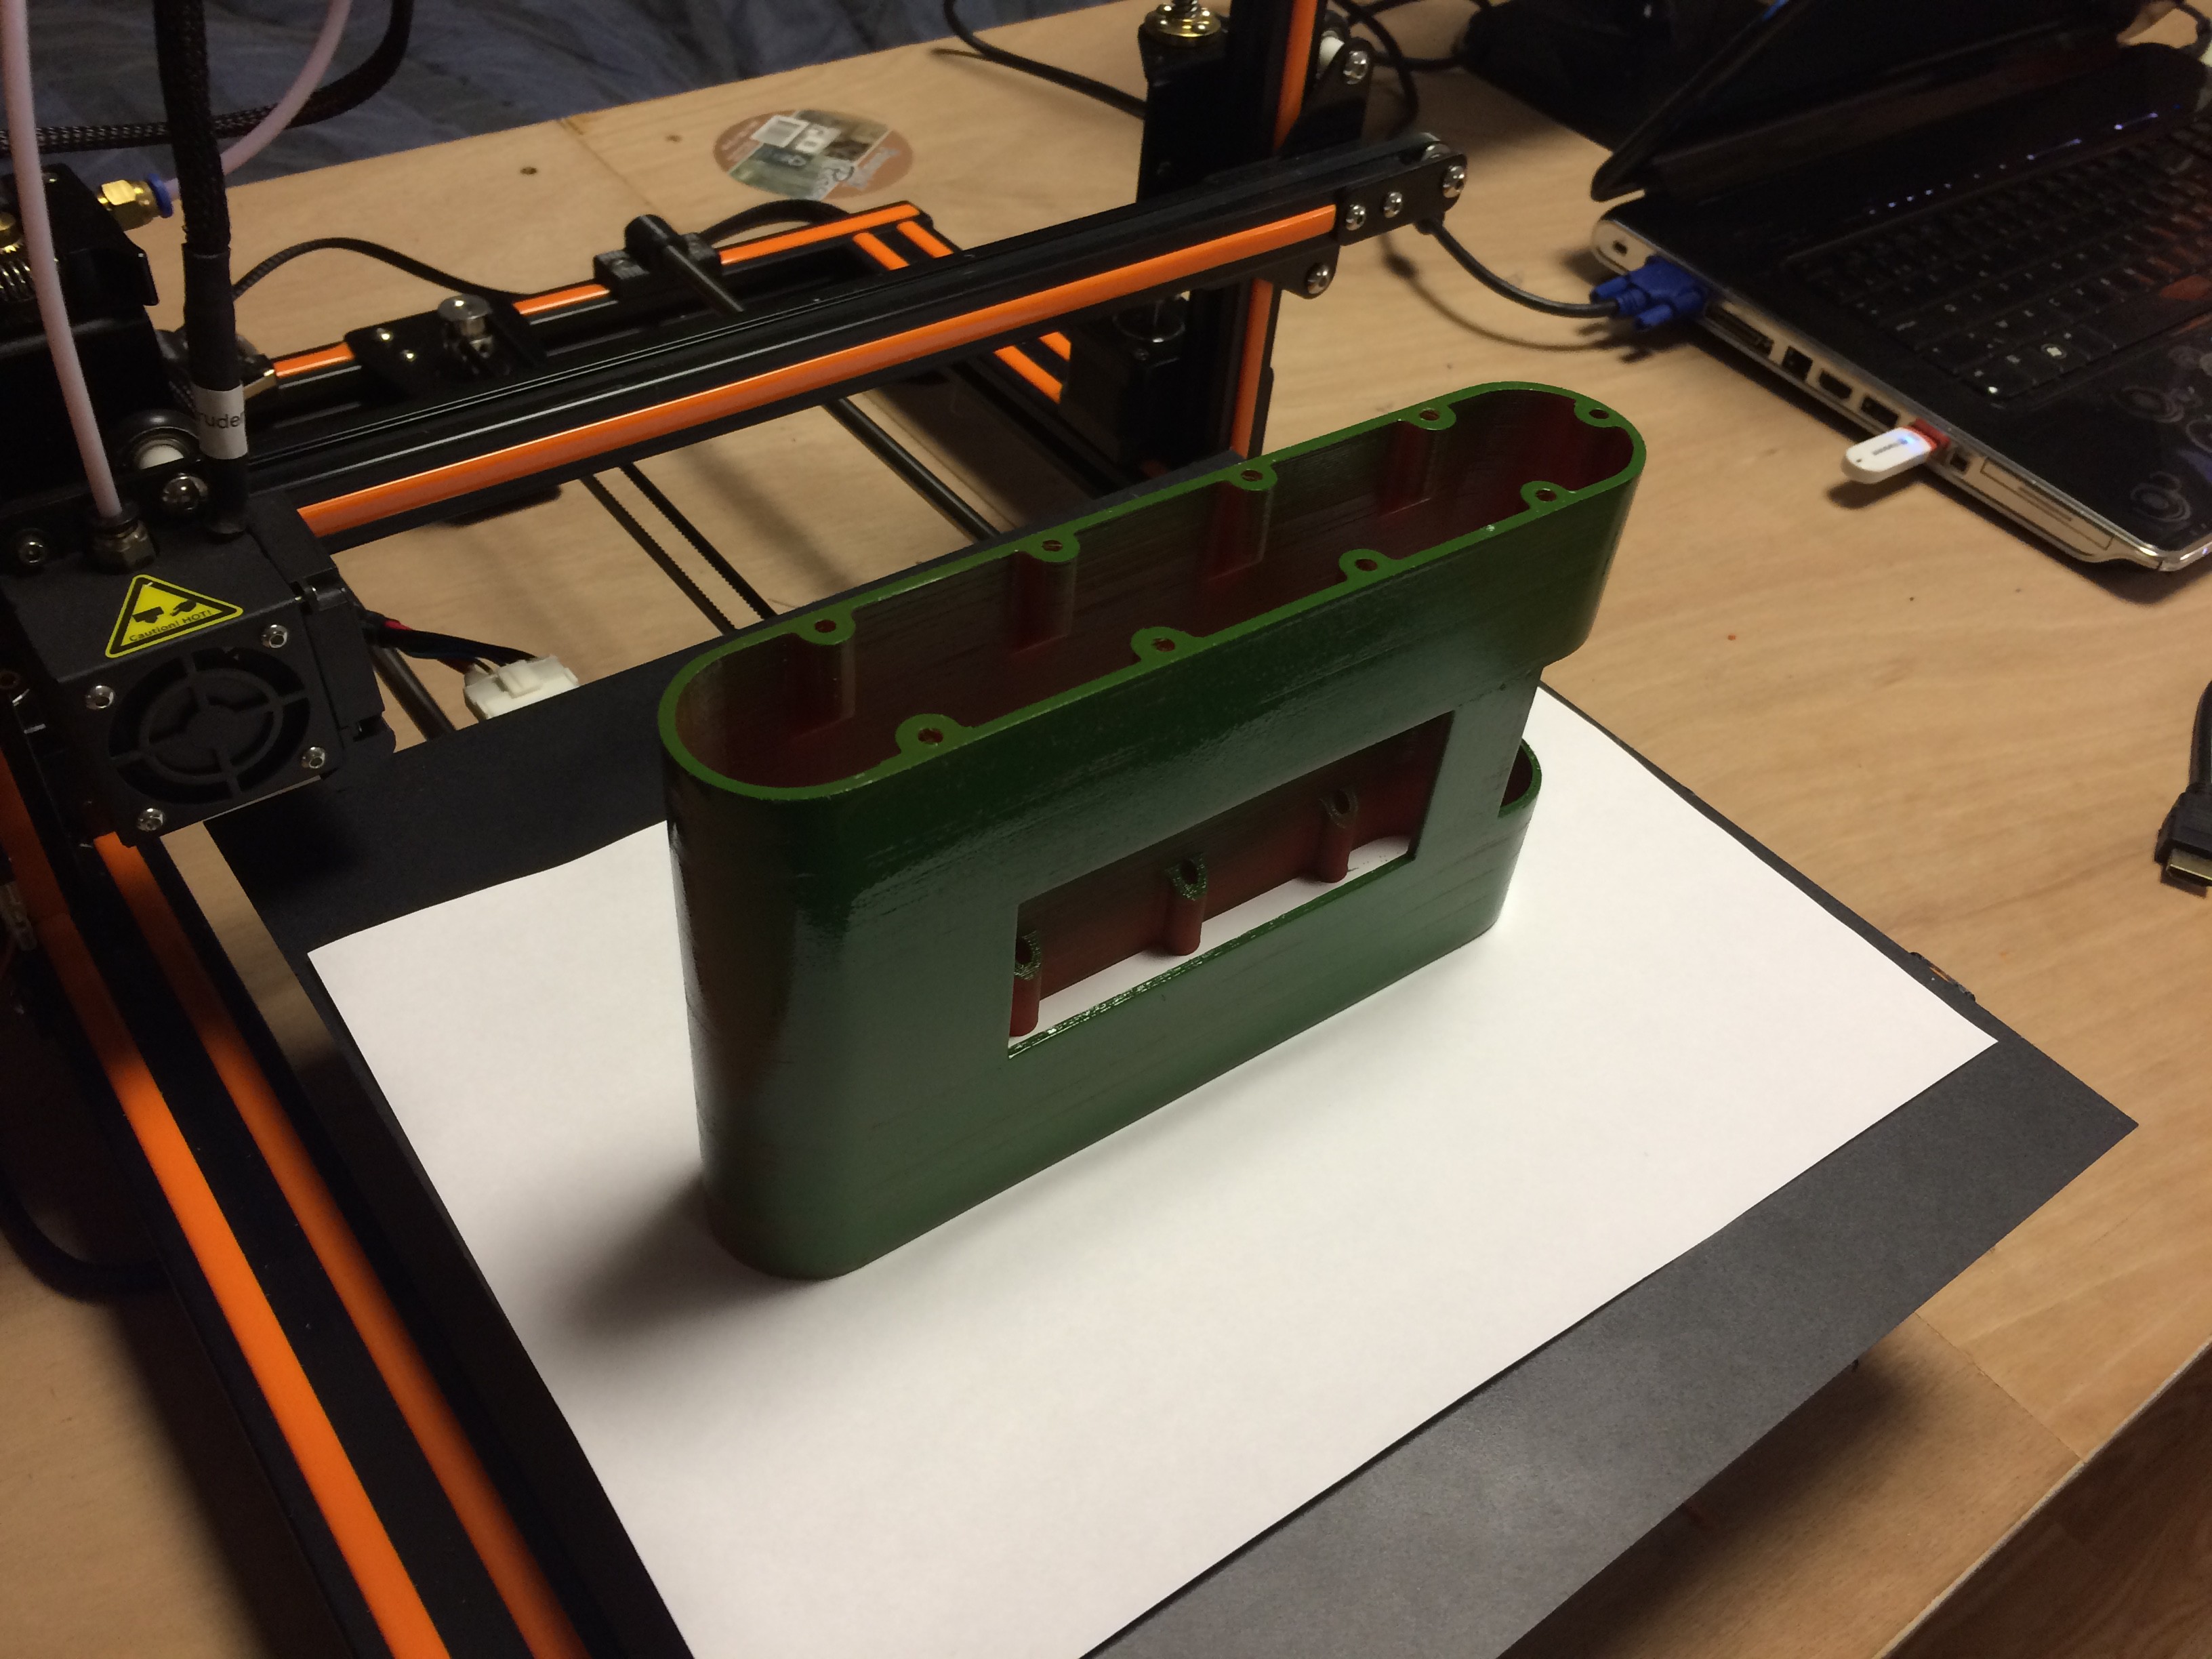
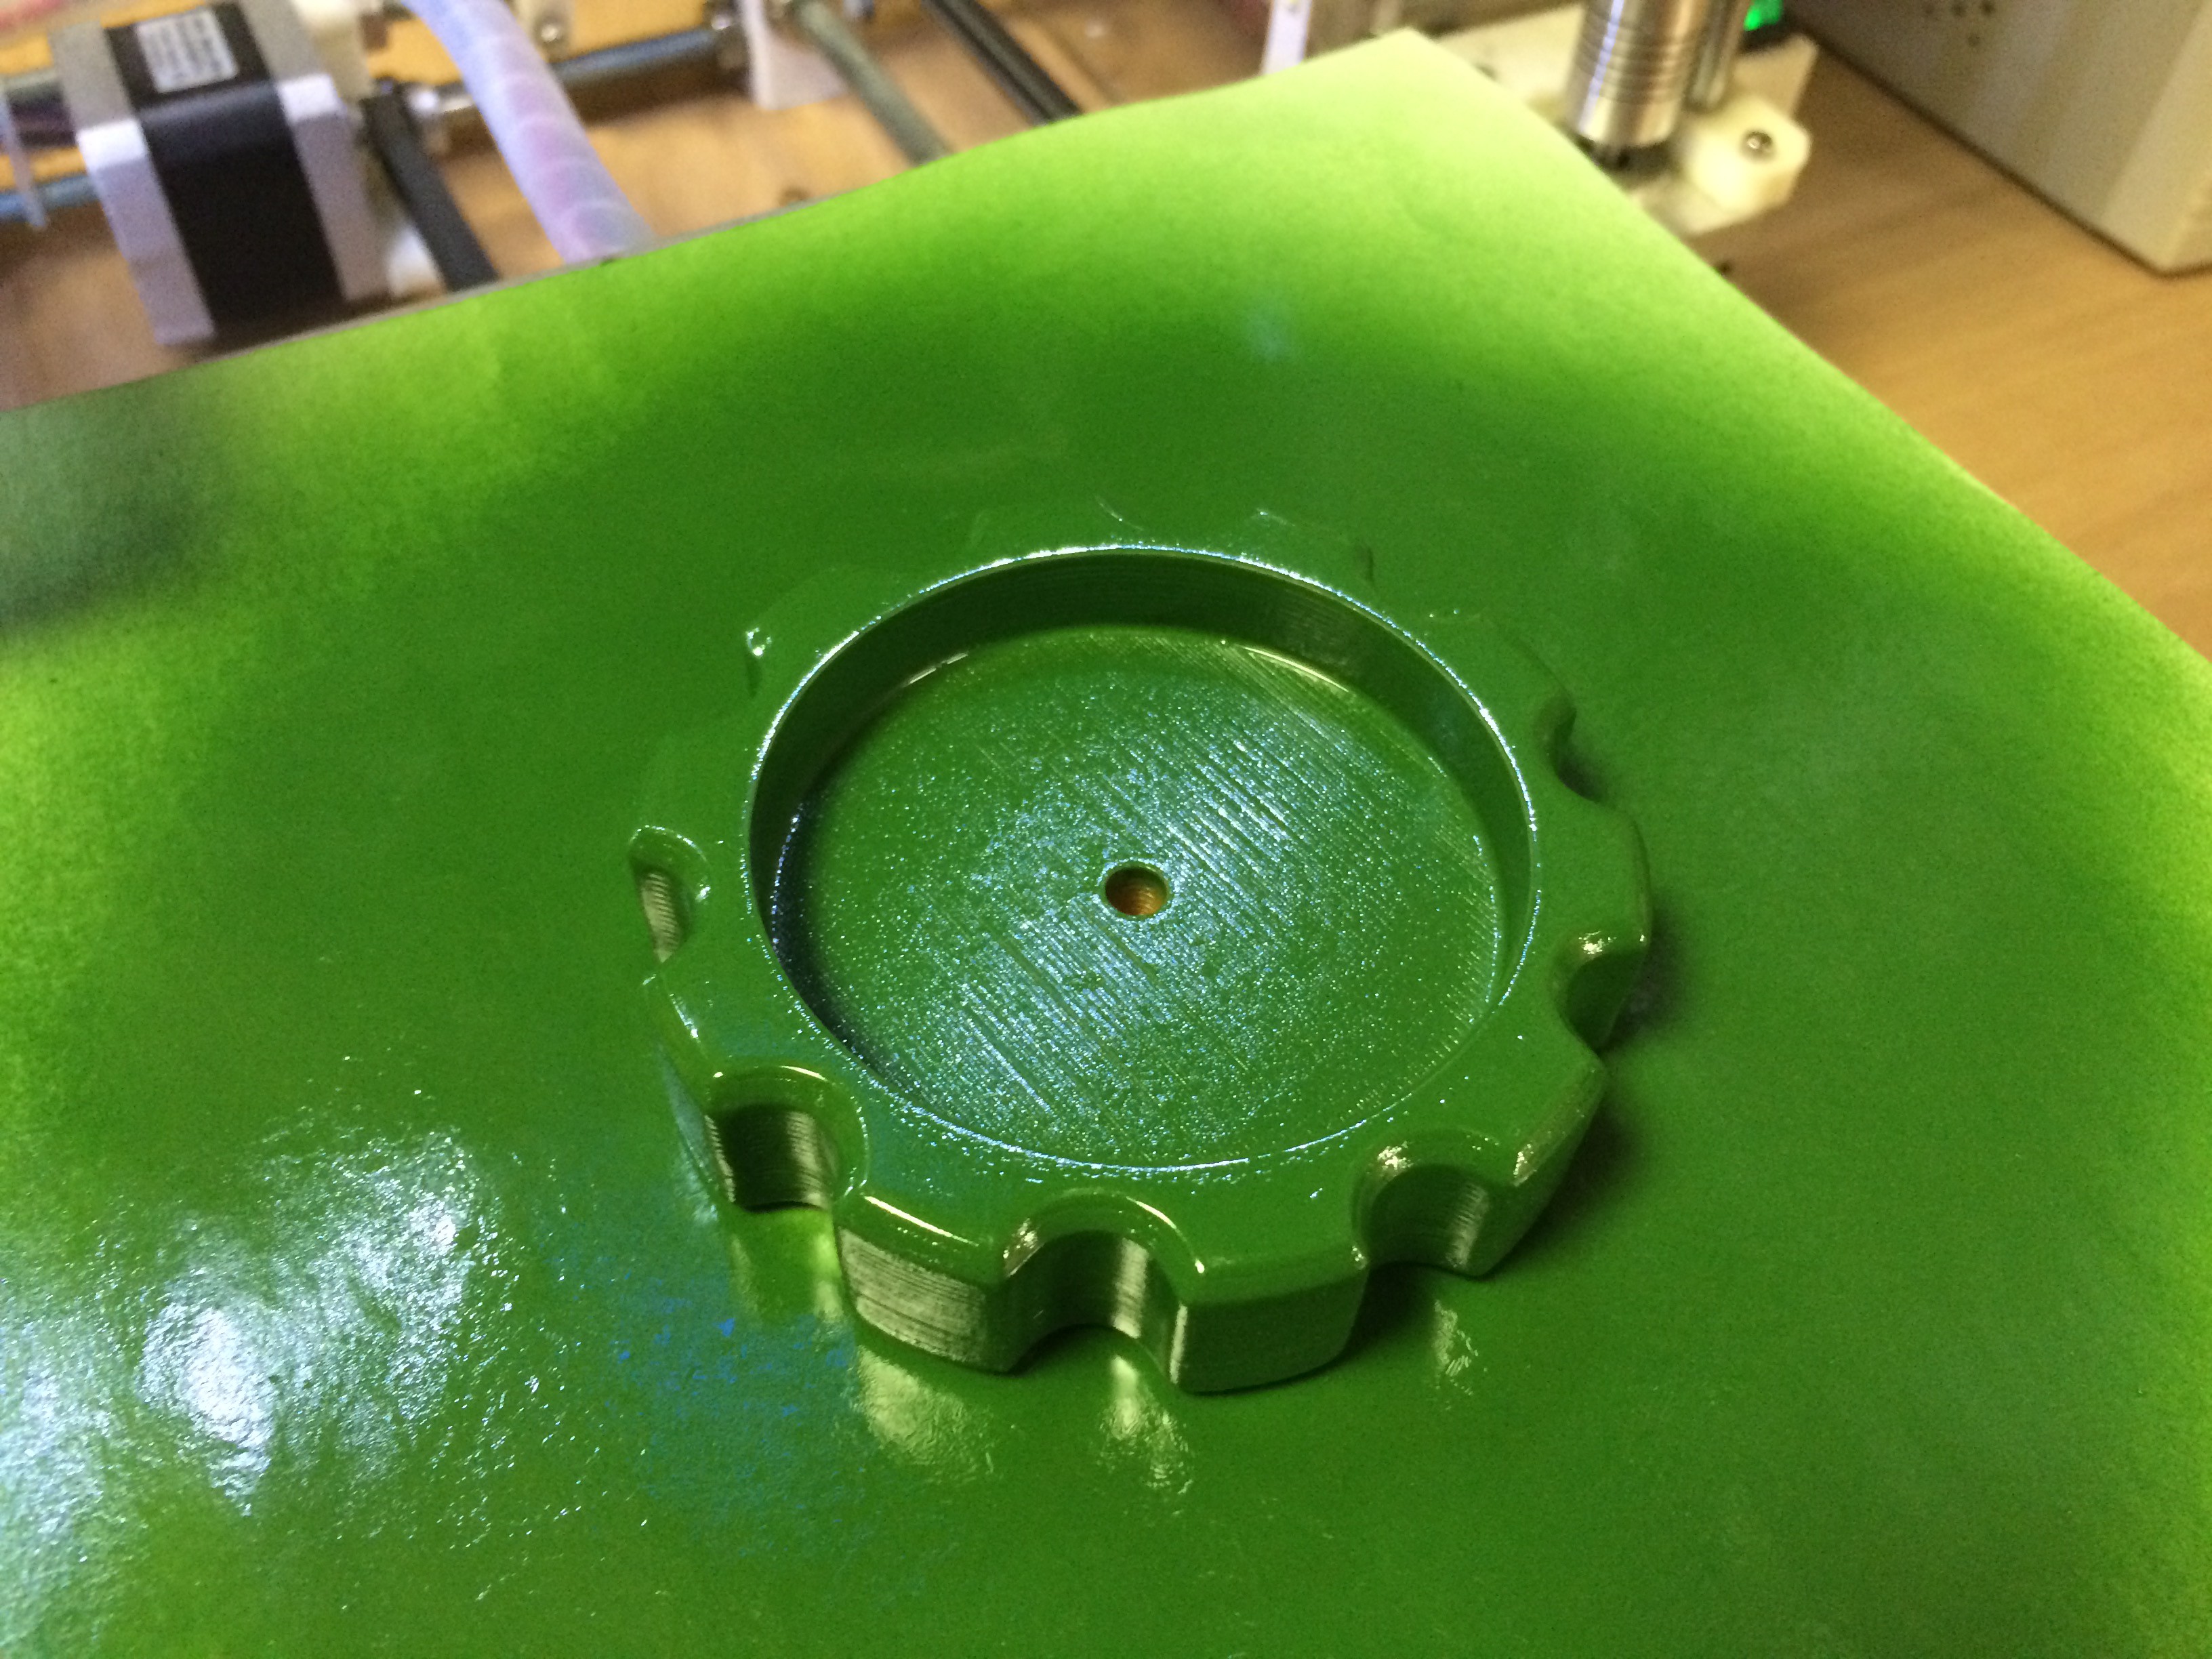
All parts have been painted and are ready for assembly
04/17/2019 at 19:03 -
All the parts have been printed and are ready to be painted
04/15/2019 at 11:47 -
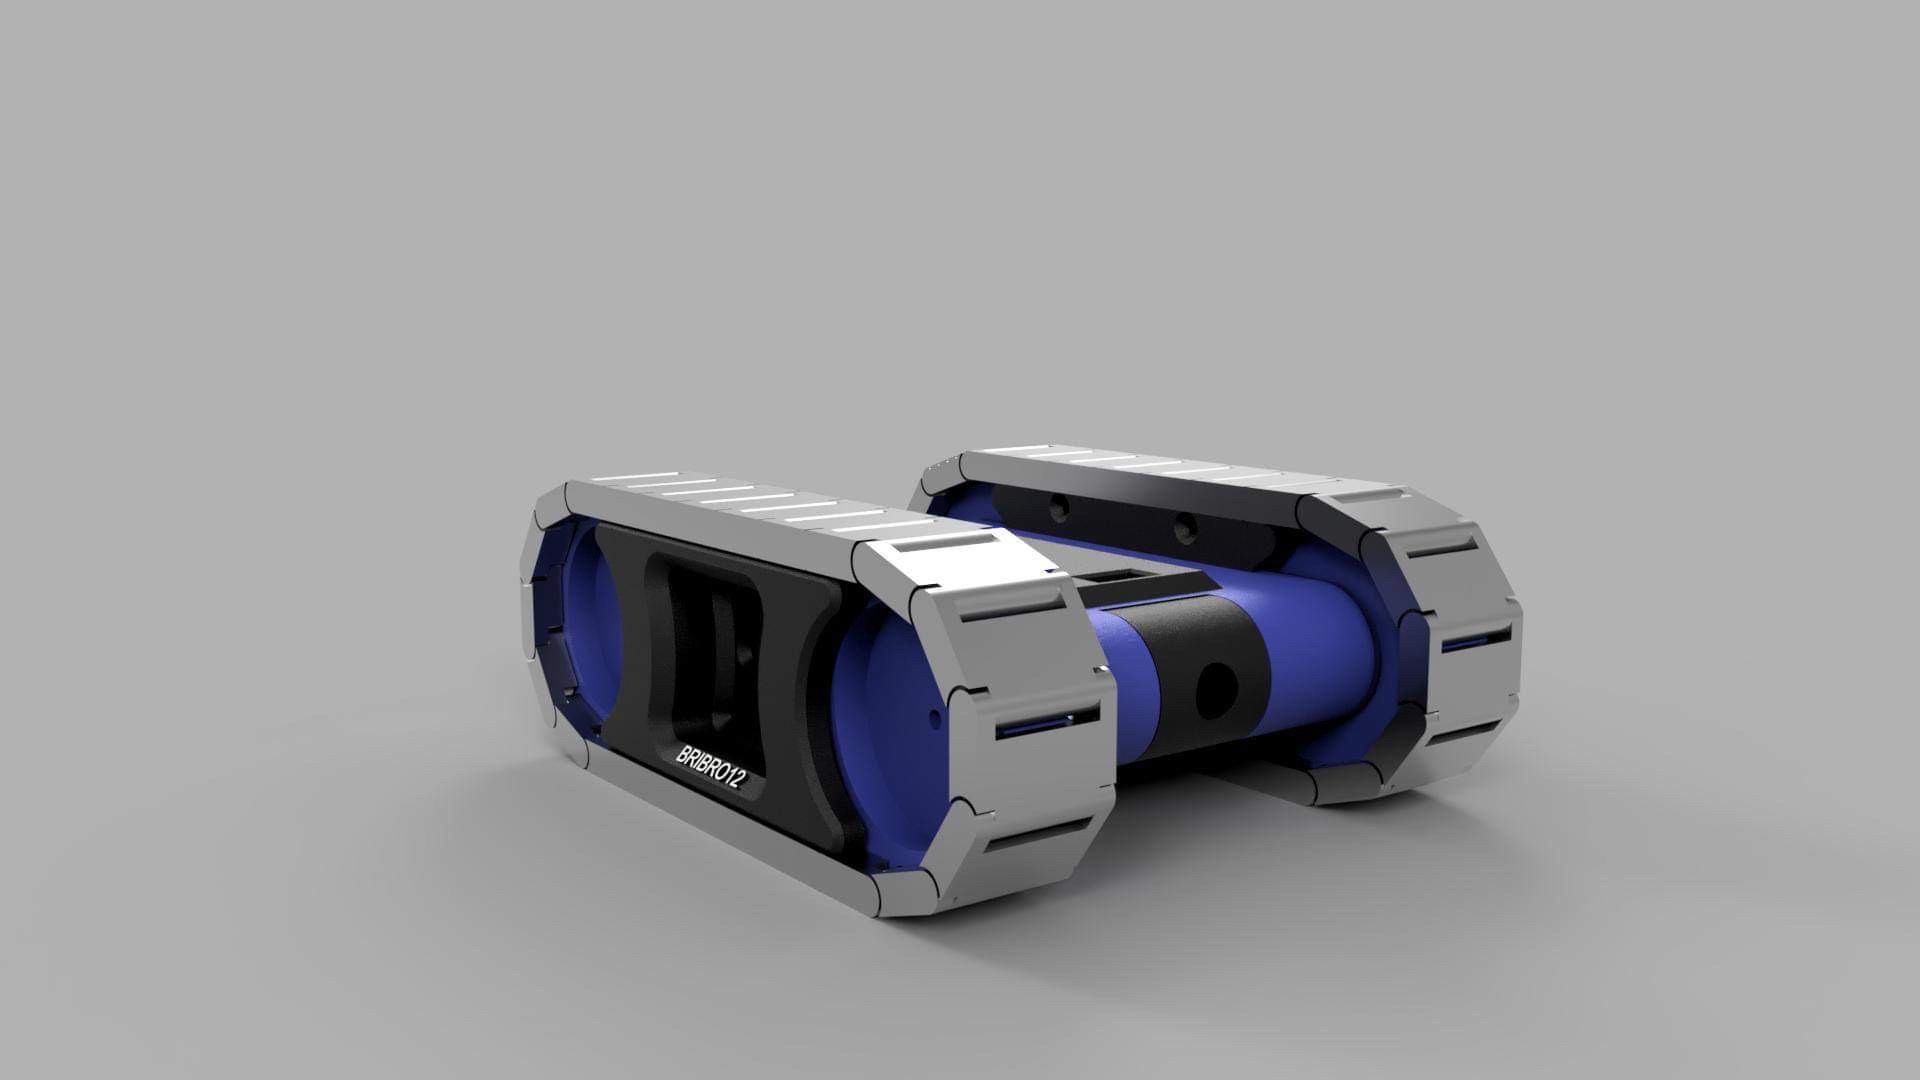
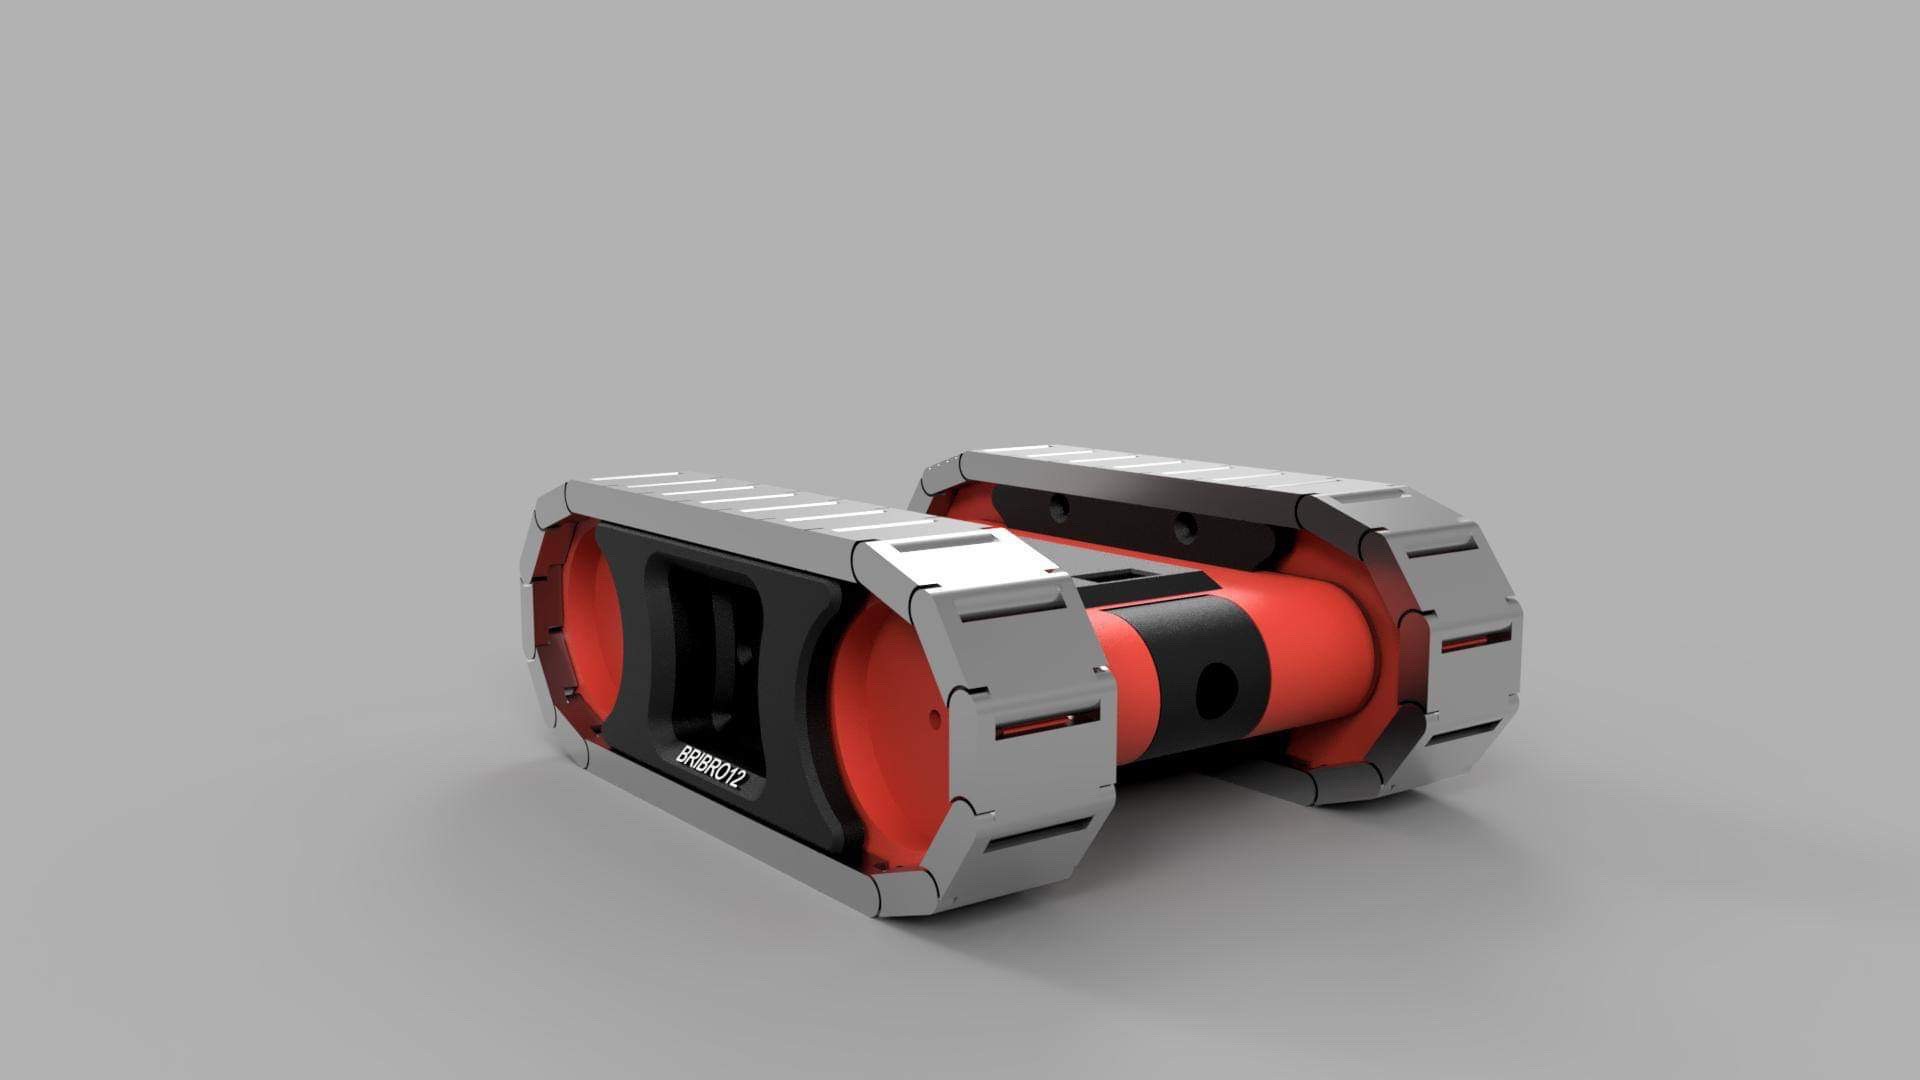
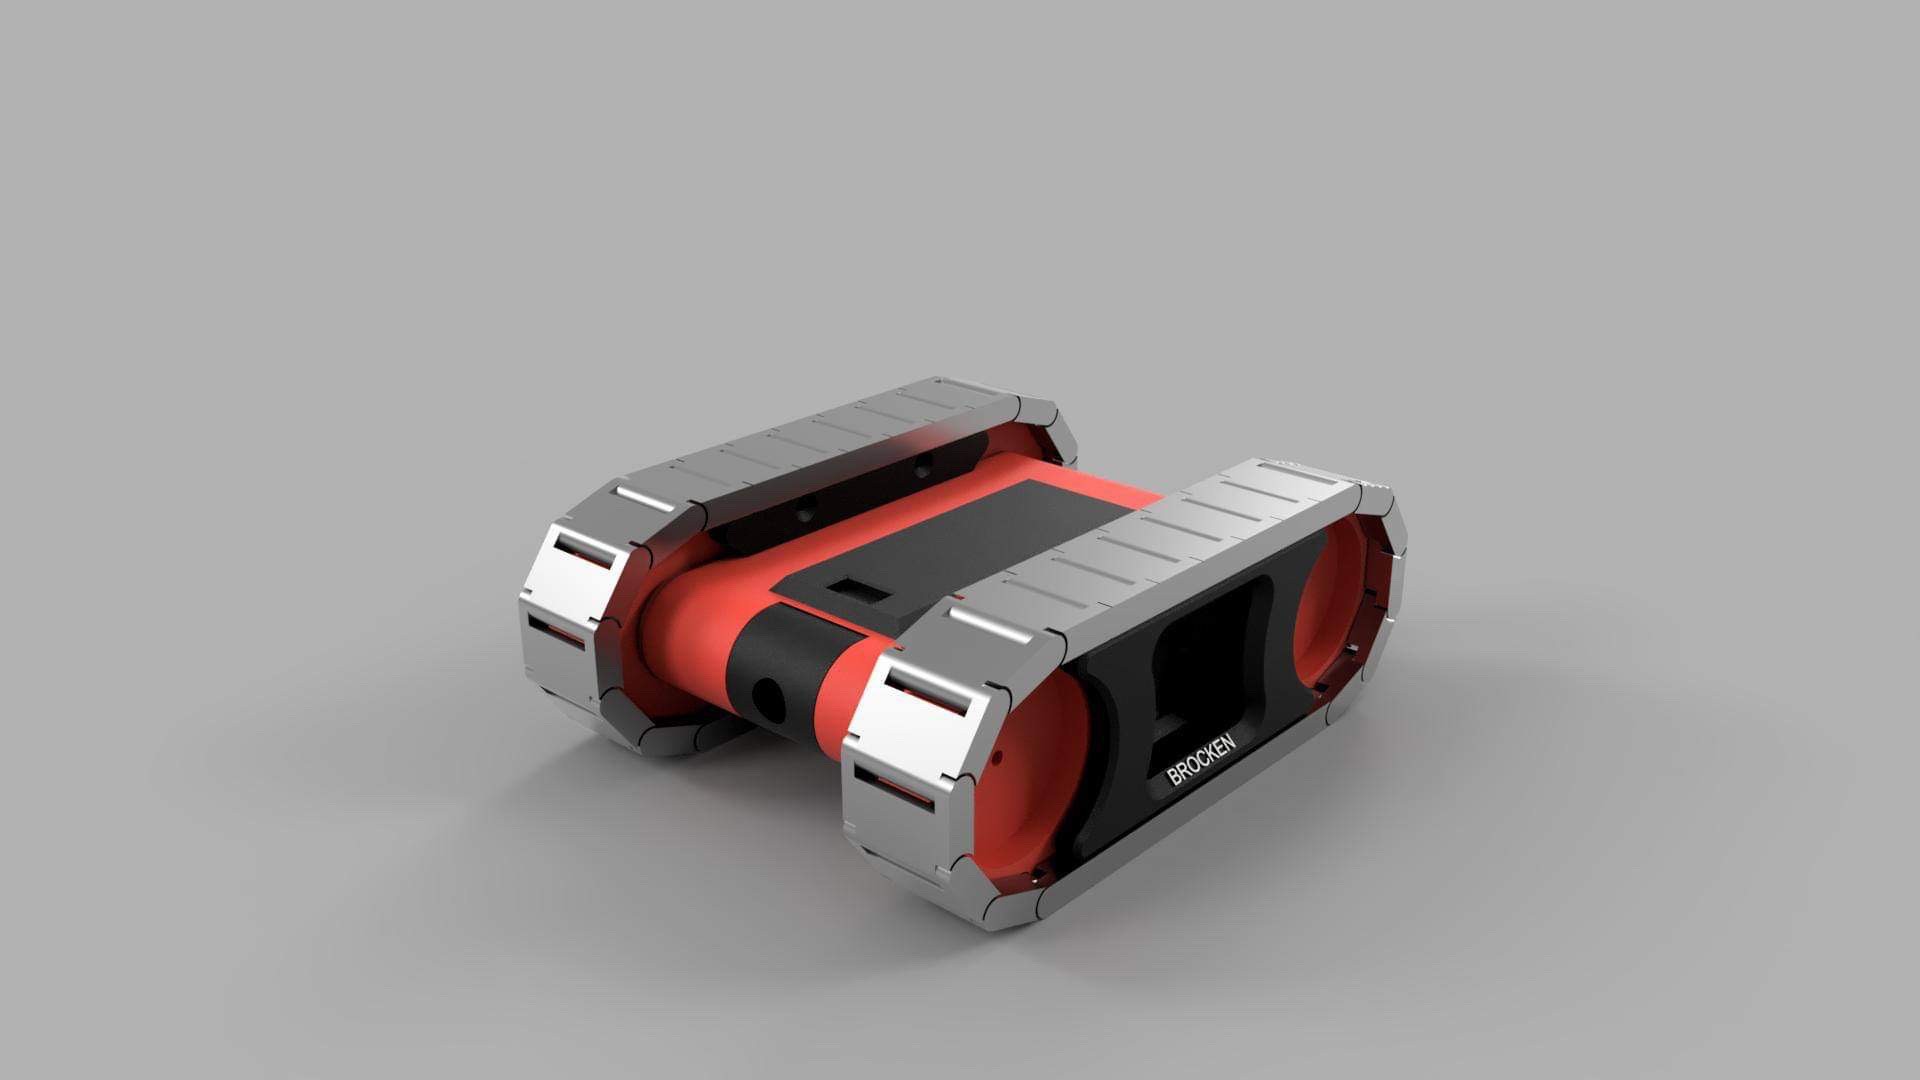
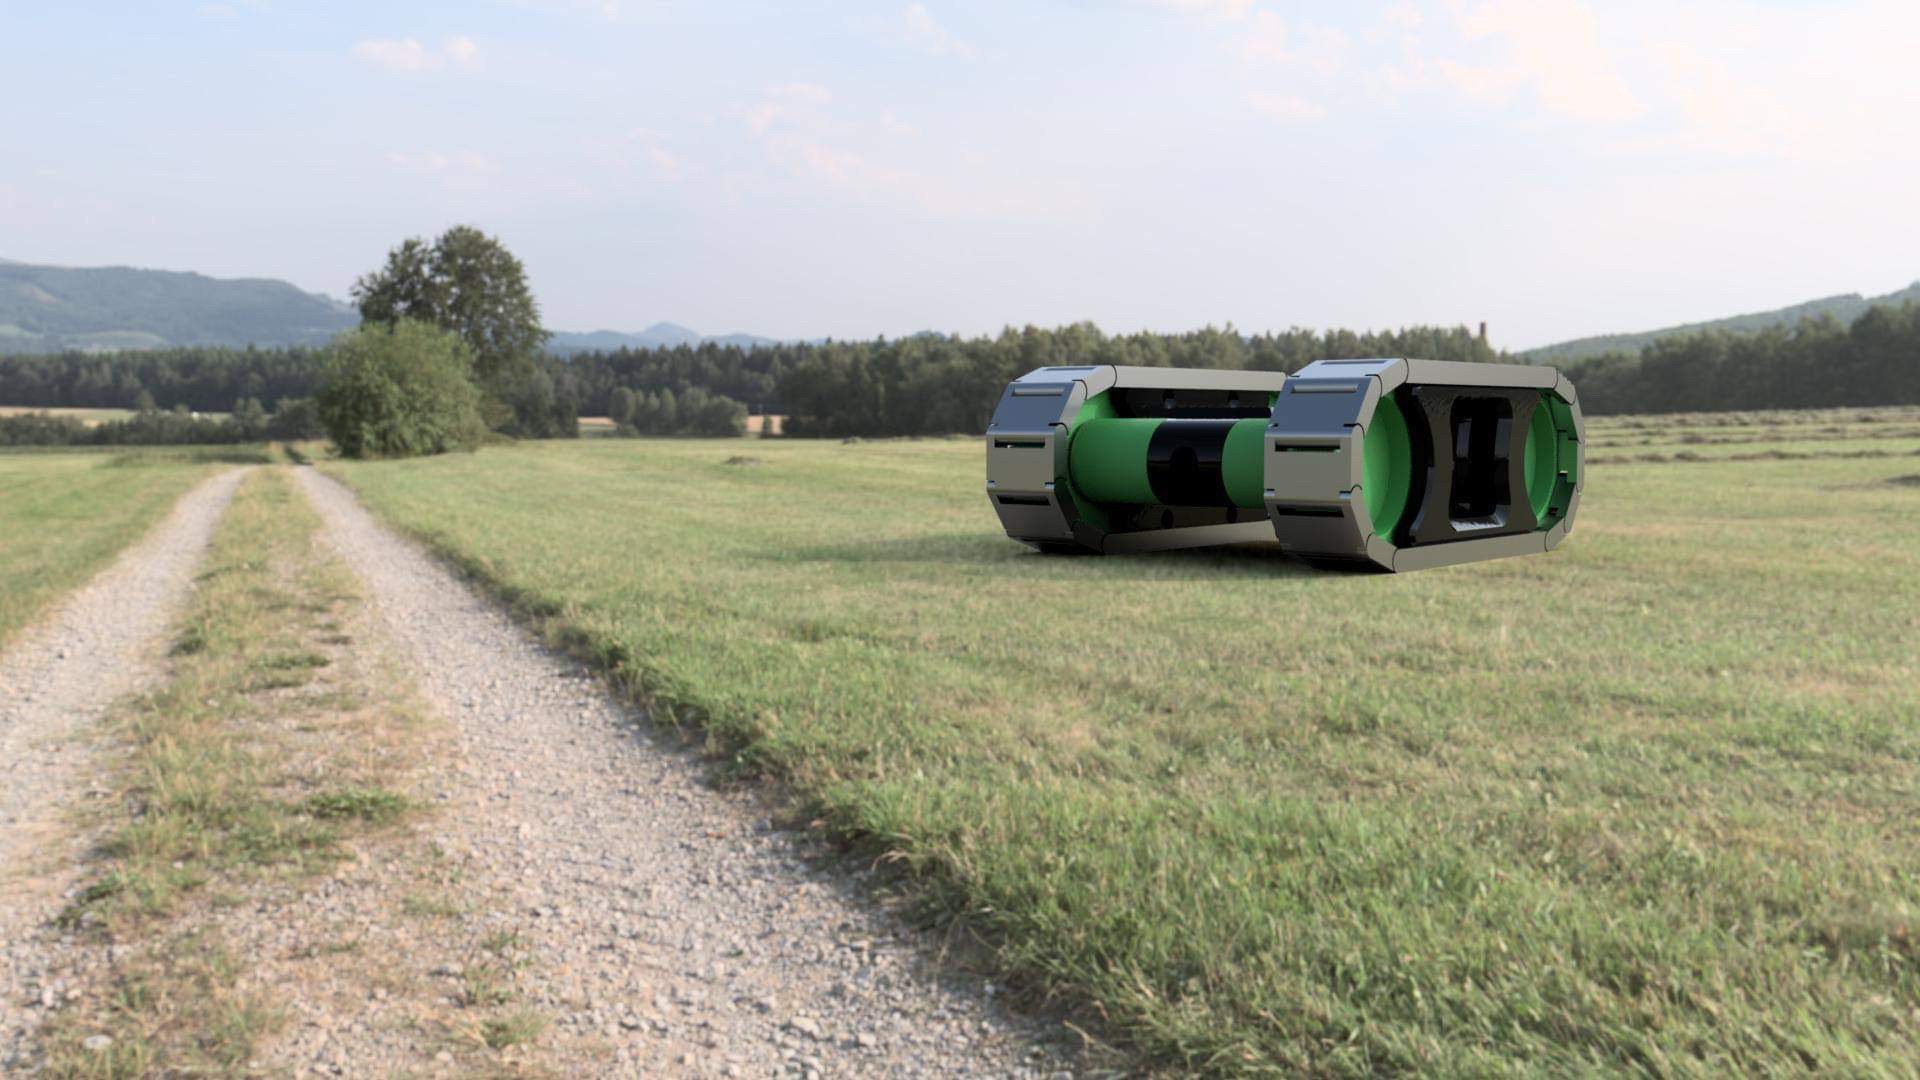
Made some renders of the tank / rover model
04/09/2019 at 17:25


